SDK UI
How to Add Your Apps
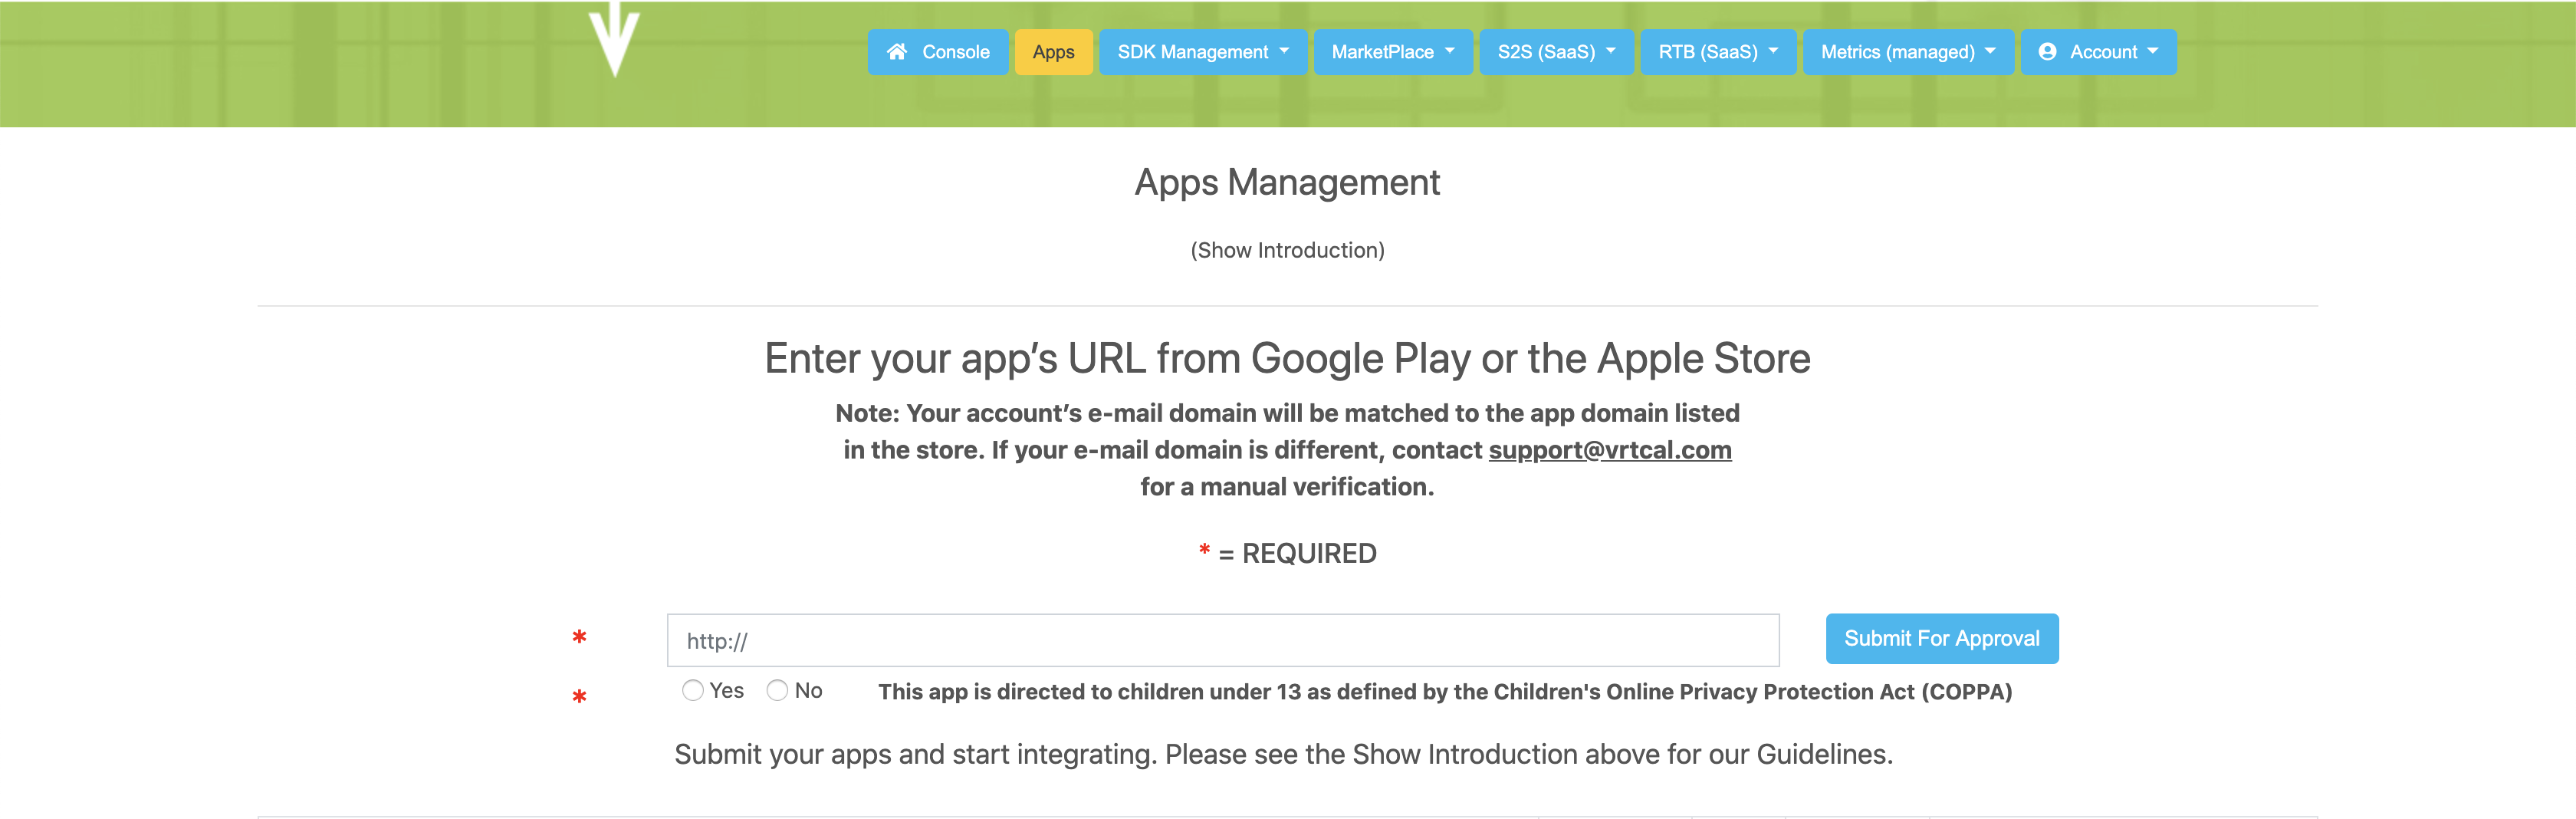
To successfully add your applications, the e-mail you used to create and verify your account needs to be the same domain as listed in the App Stores (Apple or Google) for the applications you are adding, for example myname@myappdomain.com If you were unable to do so, or the app stores have an email address with a public domain like gmail.com, a VRTCAL team member can assist you during this process.
In addition, you will need to add the VRTCAL inclusions in your applications’ app-ads.txt files.
You are able to add up to 10 (ten) unverified applications in your account, which will be able to utilize TEST ads only, until verified.
Steps to Add, Verify and Launch:
-
Select the Apps Management menu item at the top of your VRTCAL account console (after signing in).
-
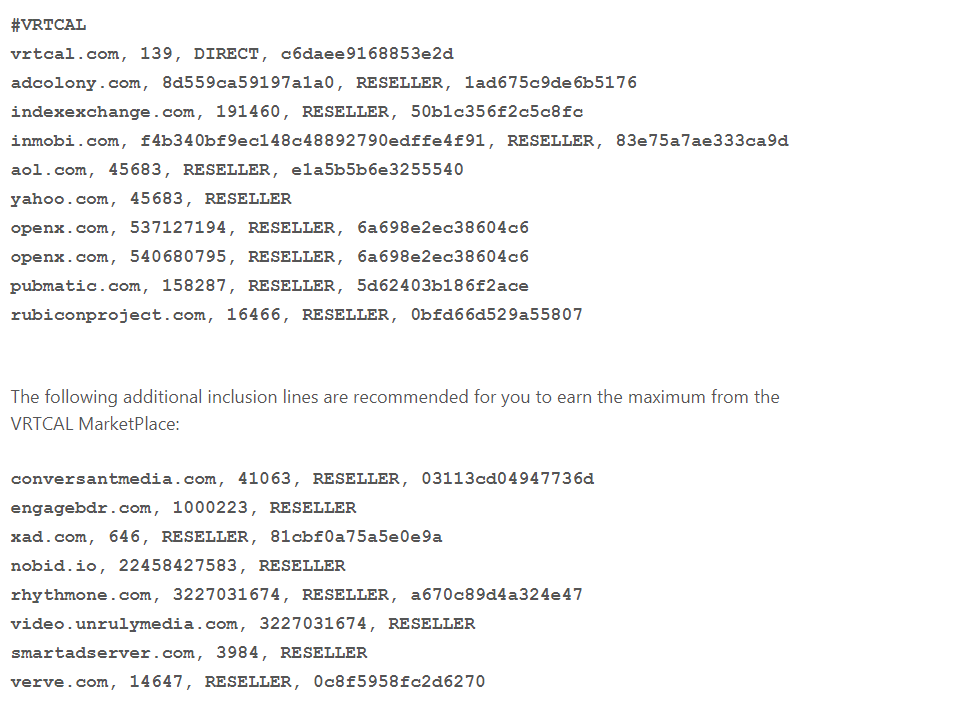
Add the following VRTCAL inclusions in the app-ads.txt file. The domain of the app-ads.txt file needs to match the domain in the application’s App Store account. The top section is required to Auto Verify your applications. The bottom section of inclusions listed below is highly recommended to allow many of VRTCAL’s buyers.
- Select the Add New App button.

- Copy and Paste (or enter) your application’s App Store URL, check the correct COPPA setting, and click Submit for Approval.
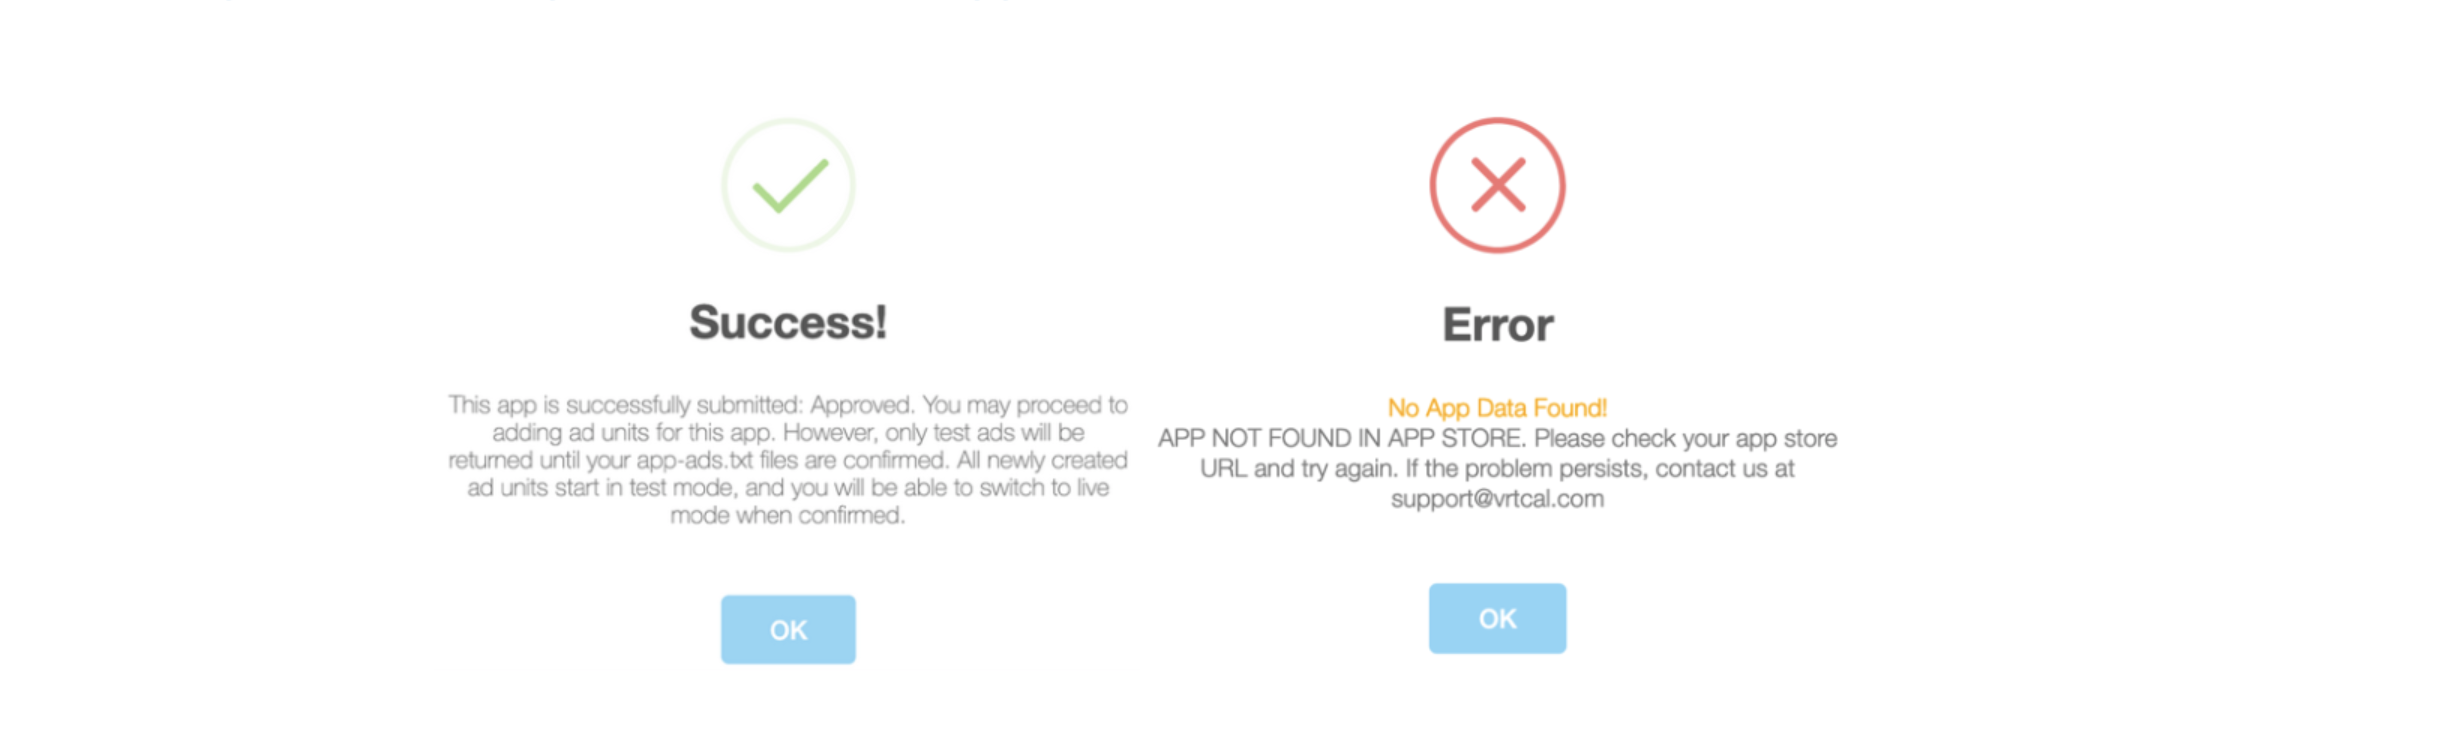
A popup will display informing you of your submission success or failure. If you receive the below Success Notice, your application will be added to your account, and they can be Auto Verified later. If you receive the below Error Notice, the URL of the application entered does not exist in the App Store. For your Successful submissions, you can have up to 10 unverified applications.
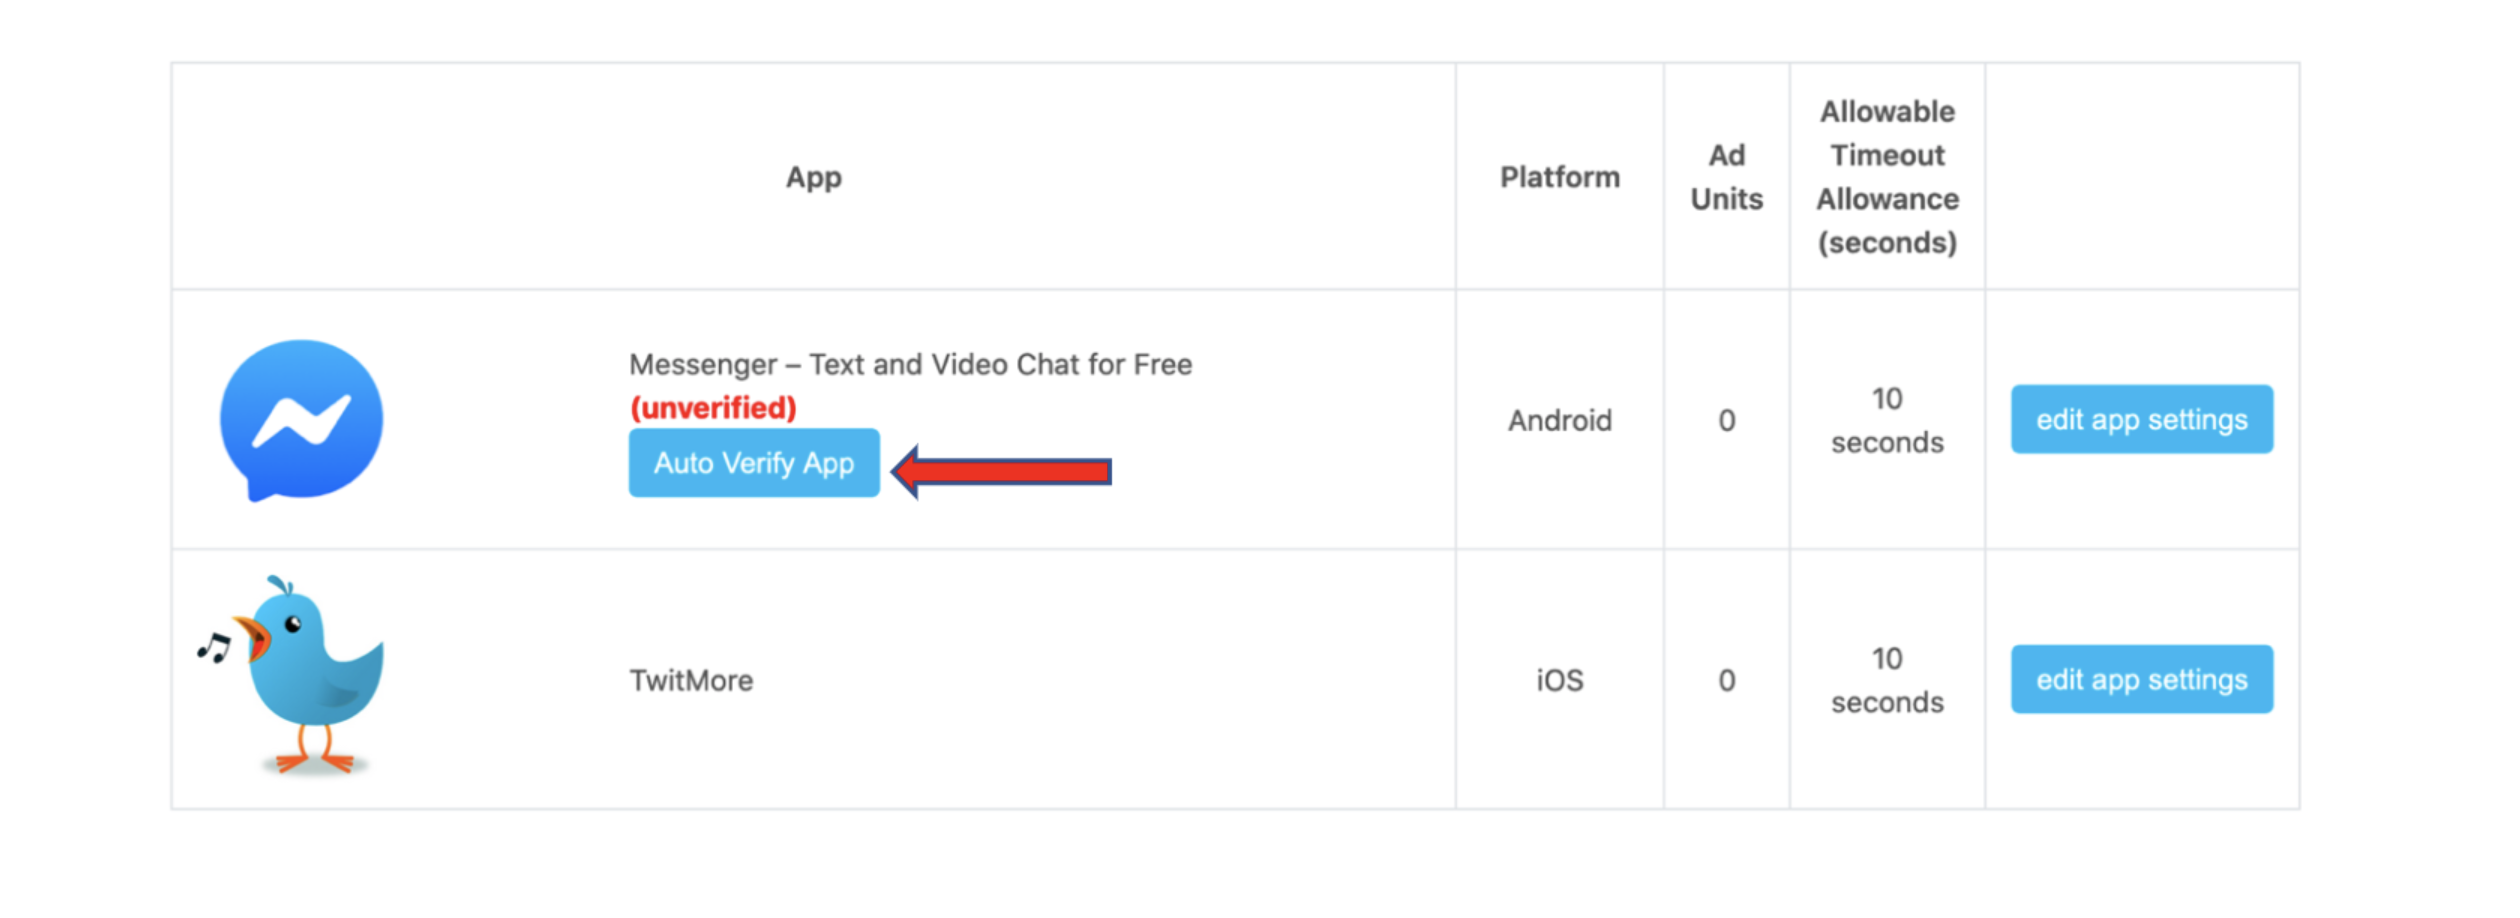
- After your successful submission, select the Auto Verify App button. This will verify (a) your e-mail address domain and (b) the required VRTCAL app-ads.txt inclusions that are in your appdomain.com/app-ads.txt file.
If you received an error message, either the domain of your e-mail address or the specific e-mail address was not in the App Store account AND/OR your app-ads.txt file does not include the required VRTCAL inclusions. Both error types will deny verification. If problems persist, please contact support@vrtcal.com.

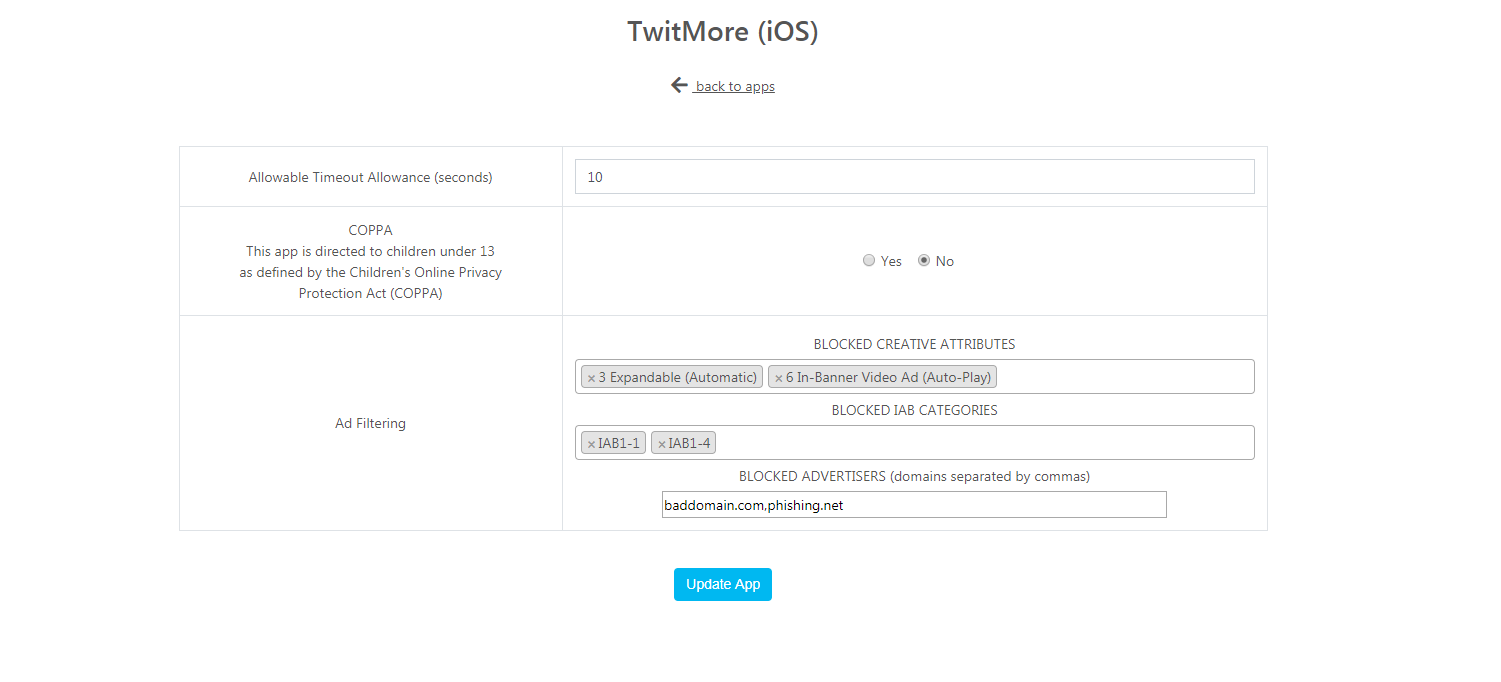
- After a successful Auto Verify of your applications, select the “edit app settings” button.

You will be able to set your underlying Allowable Timeout Allowance for the application. Ten (10) seconds is the default setting.
With the above complete, you can now Create tags and Integrate the SDKs. If you have any problems, please reach out to support@vrtcal.com.
Creating SDK Ad Units
After you have added your app, you can add/manage ad units for that app. To do so, click on "SDK MarketPlace->SDK Management" in the Navigation at the top. You should be taken to the SDK Management Page and should see all your apps.
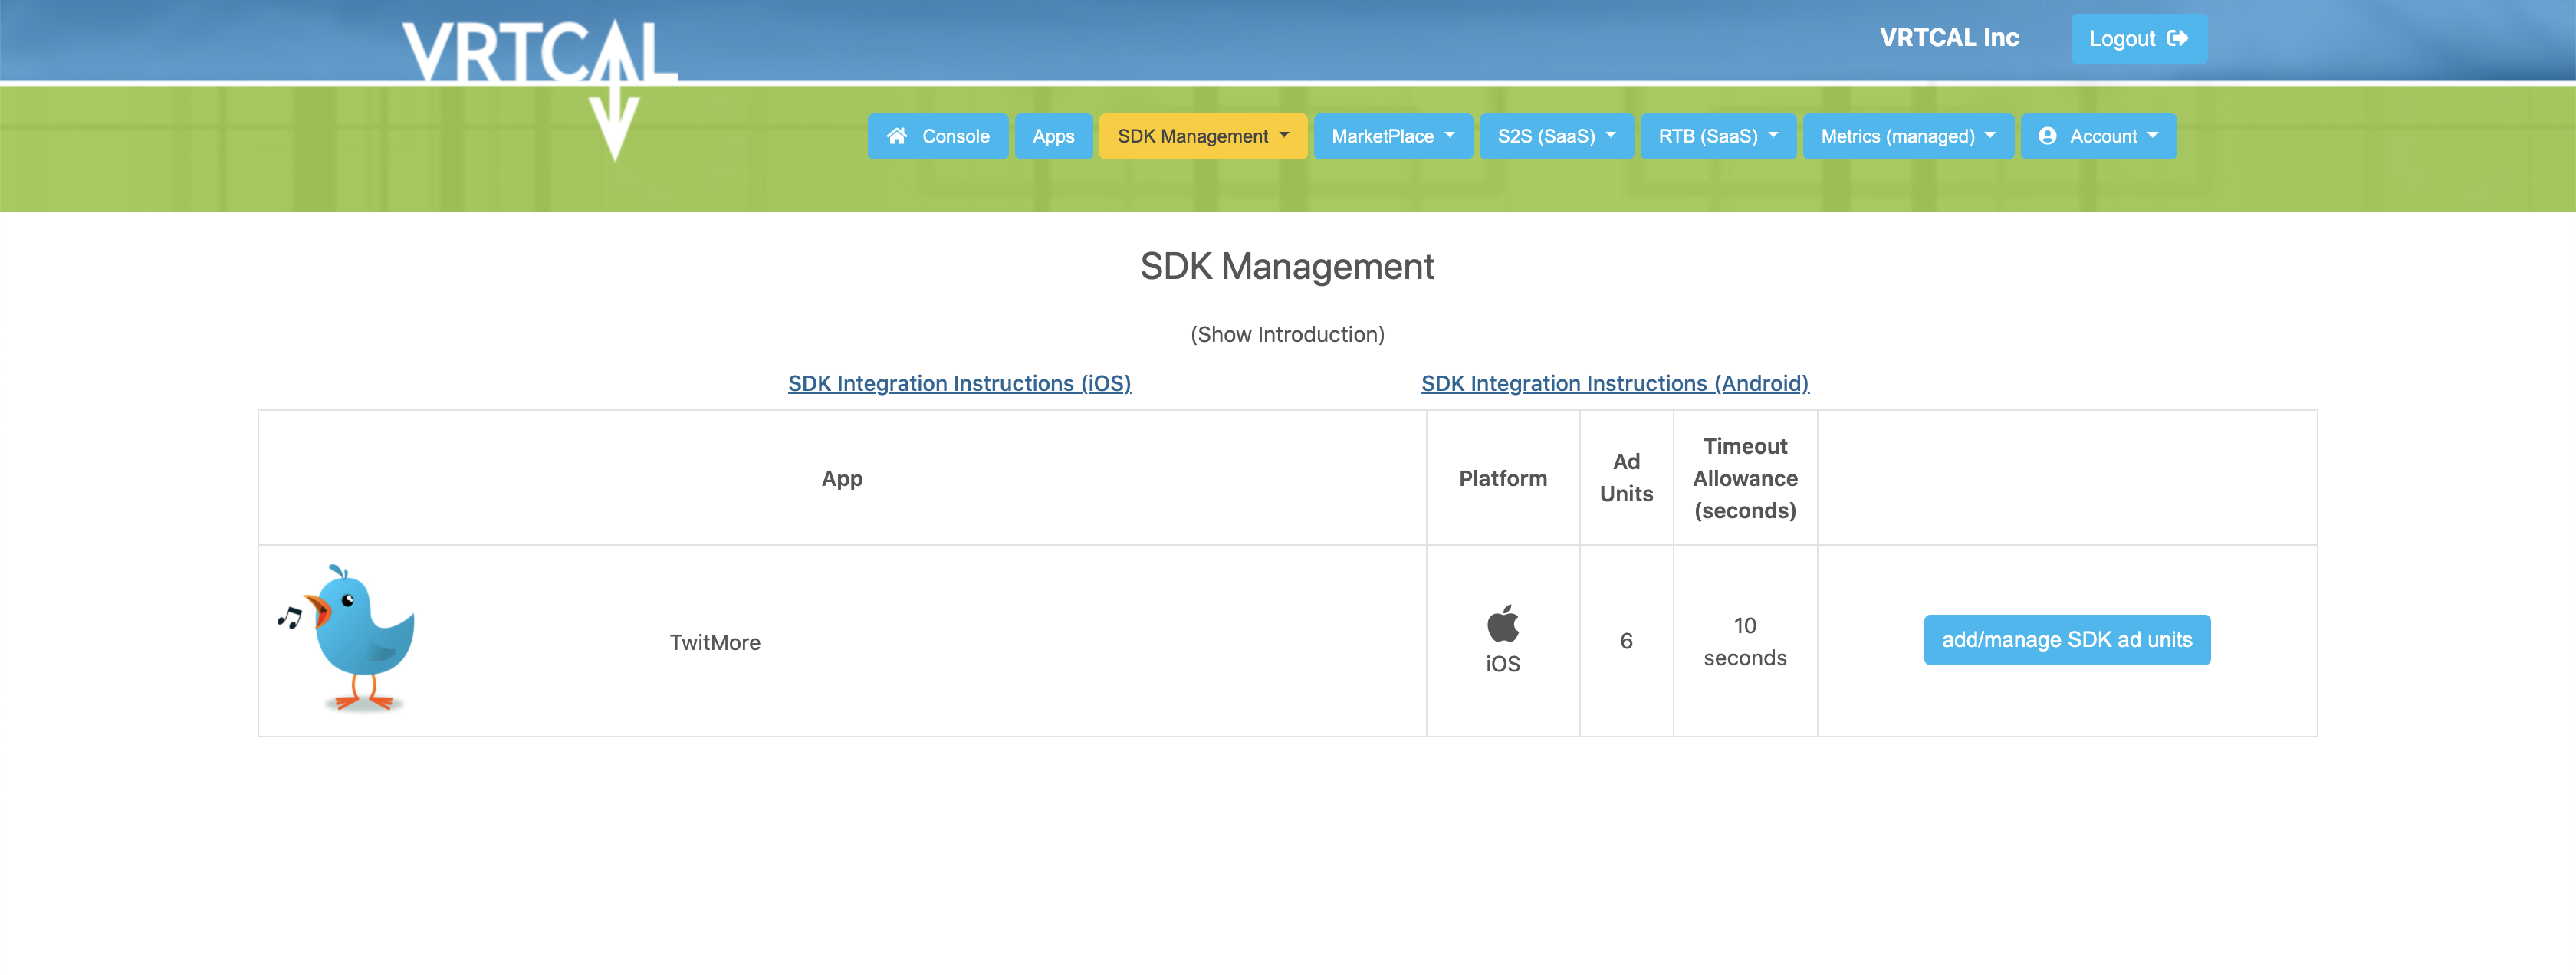
- Click on "add/manage SDK ad units" and you should be taken to the following page:
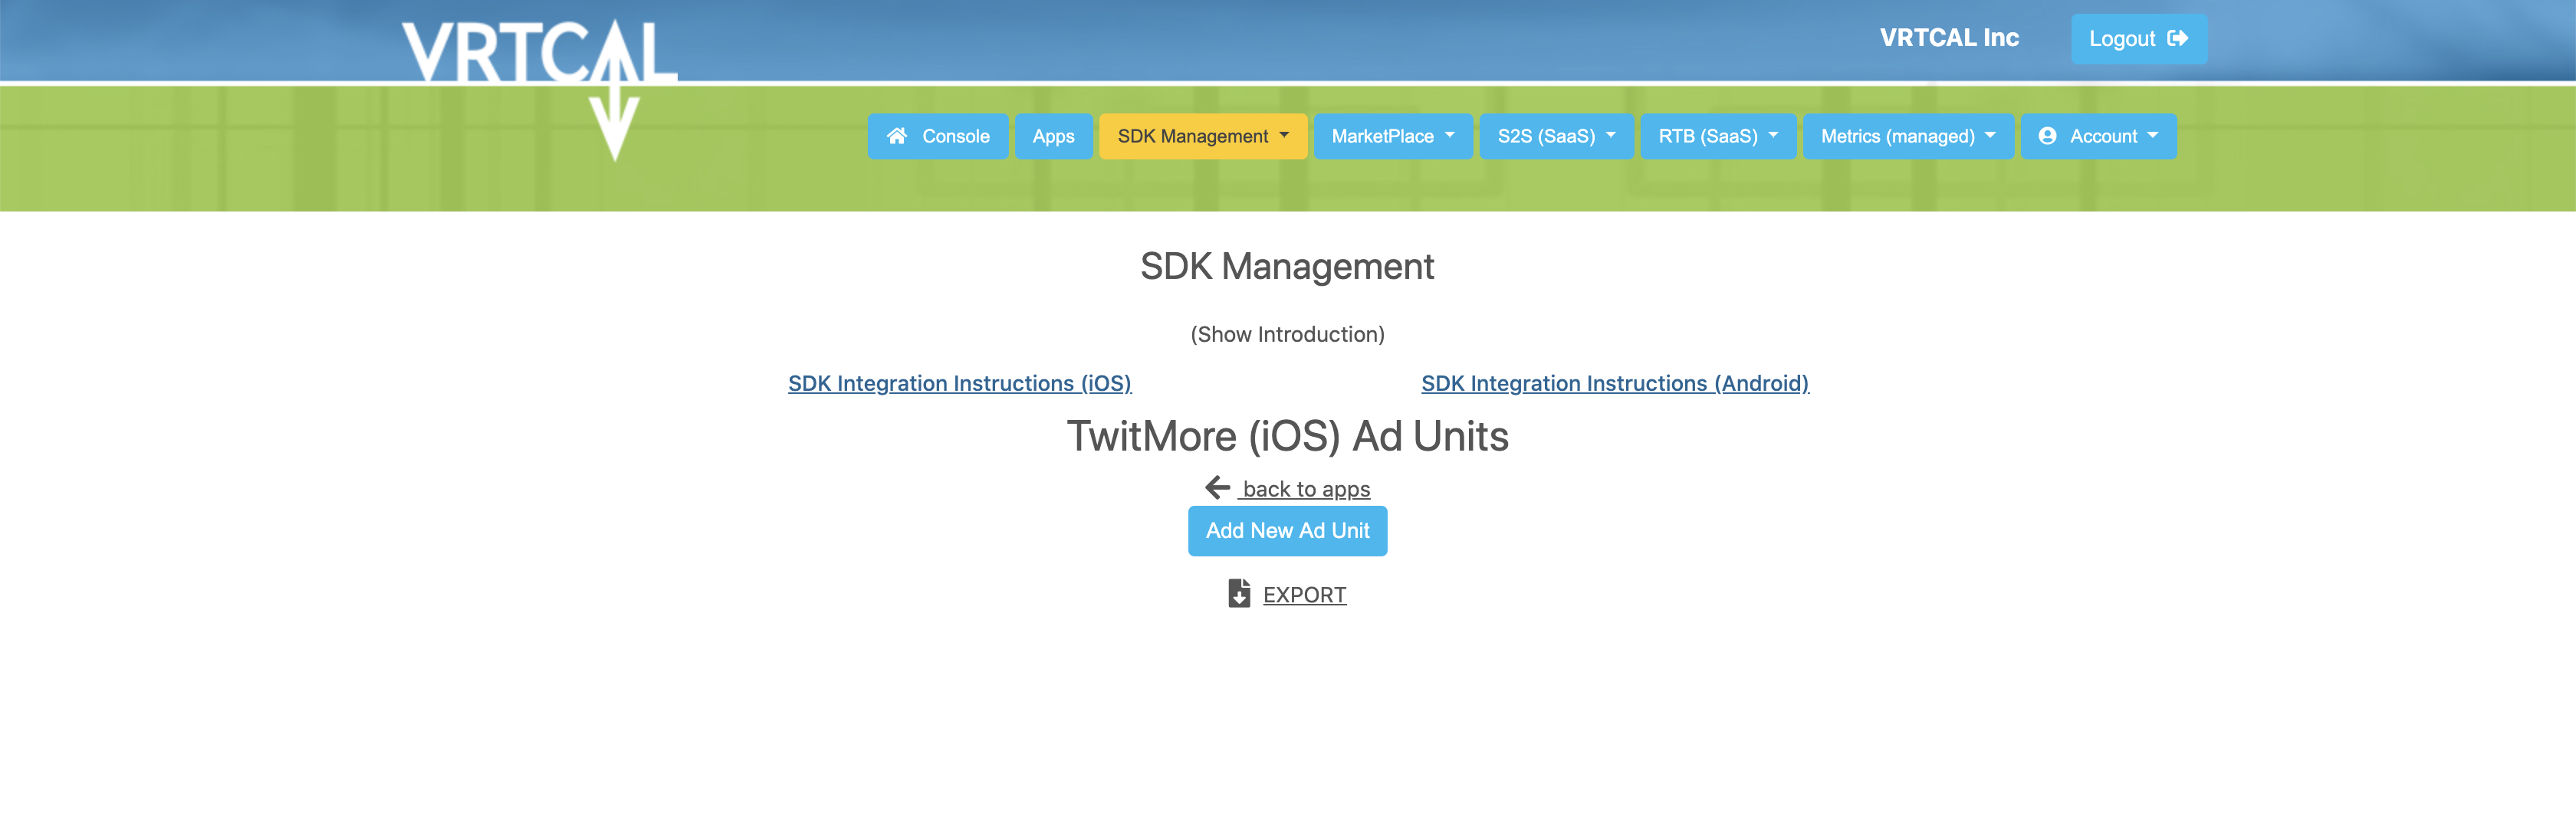
- Click on "Add New Ad Unit"
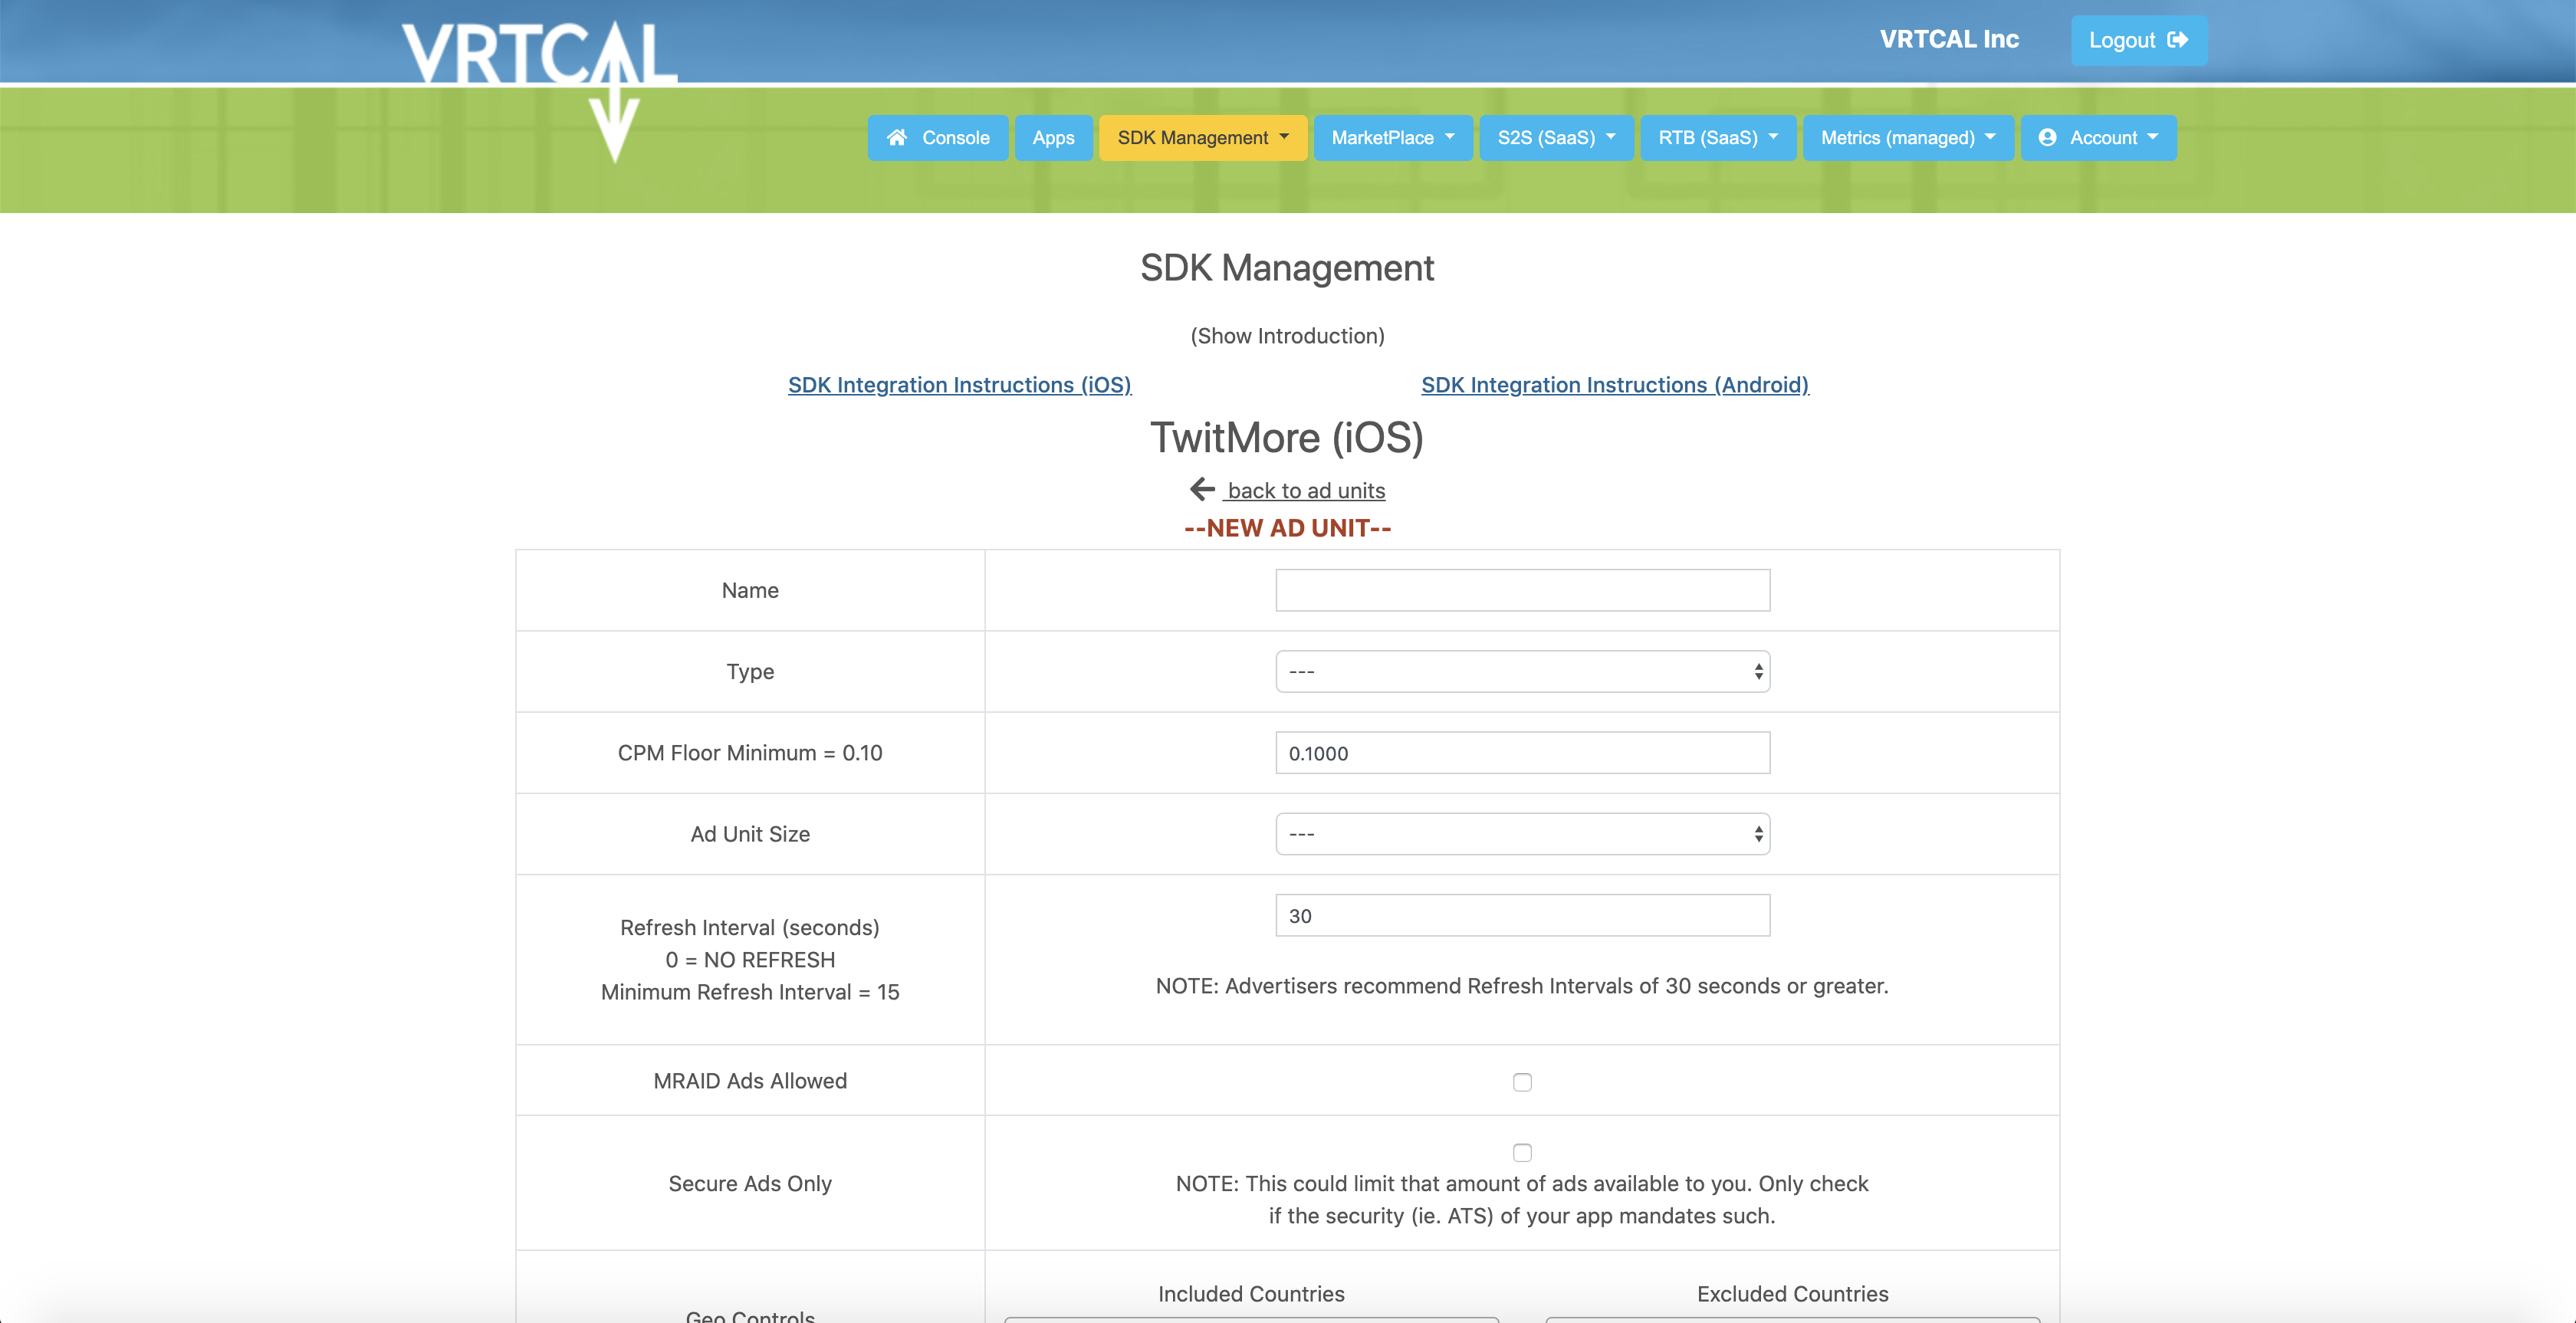
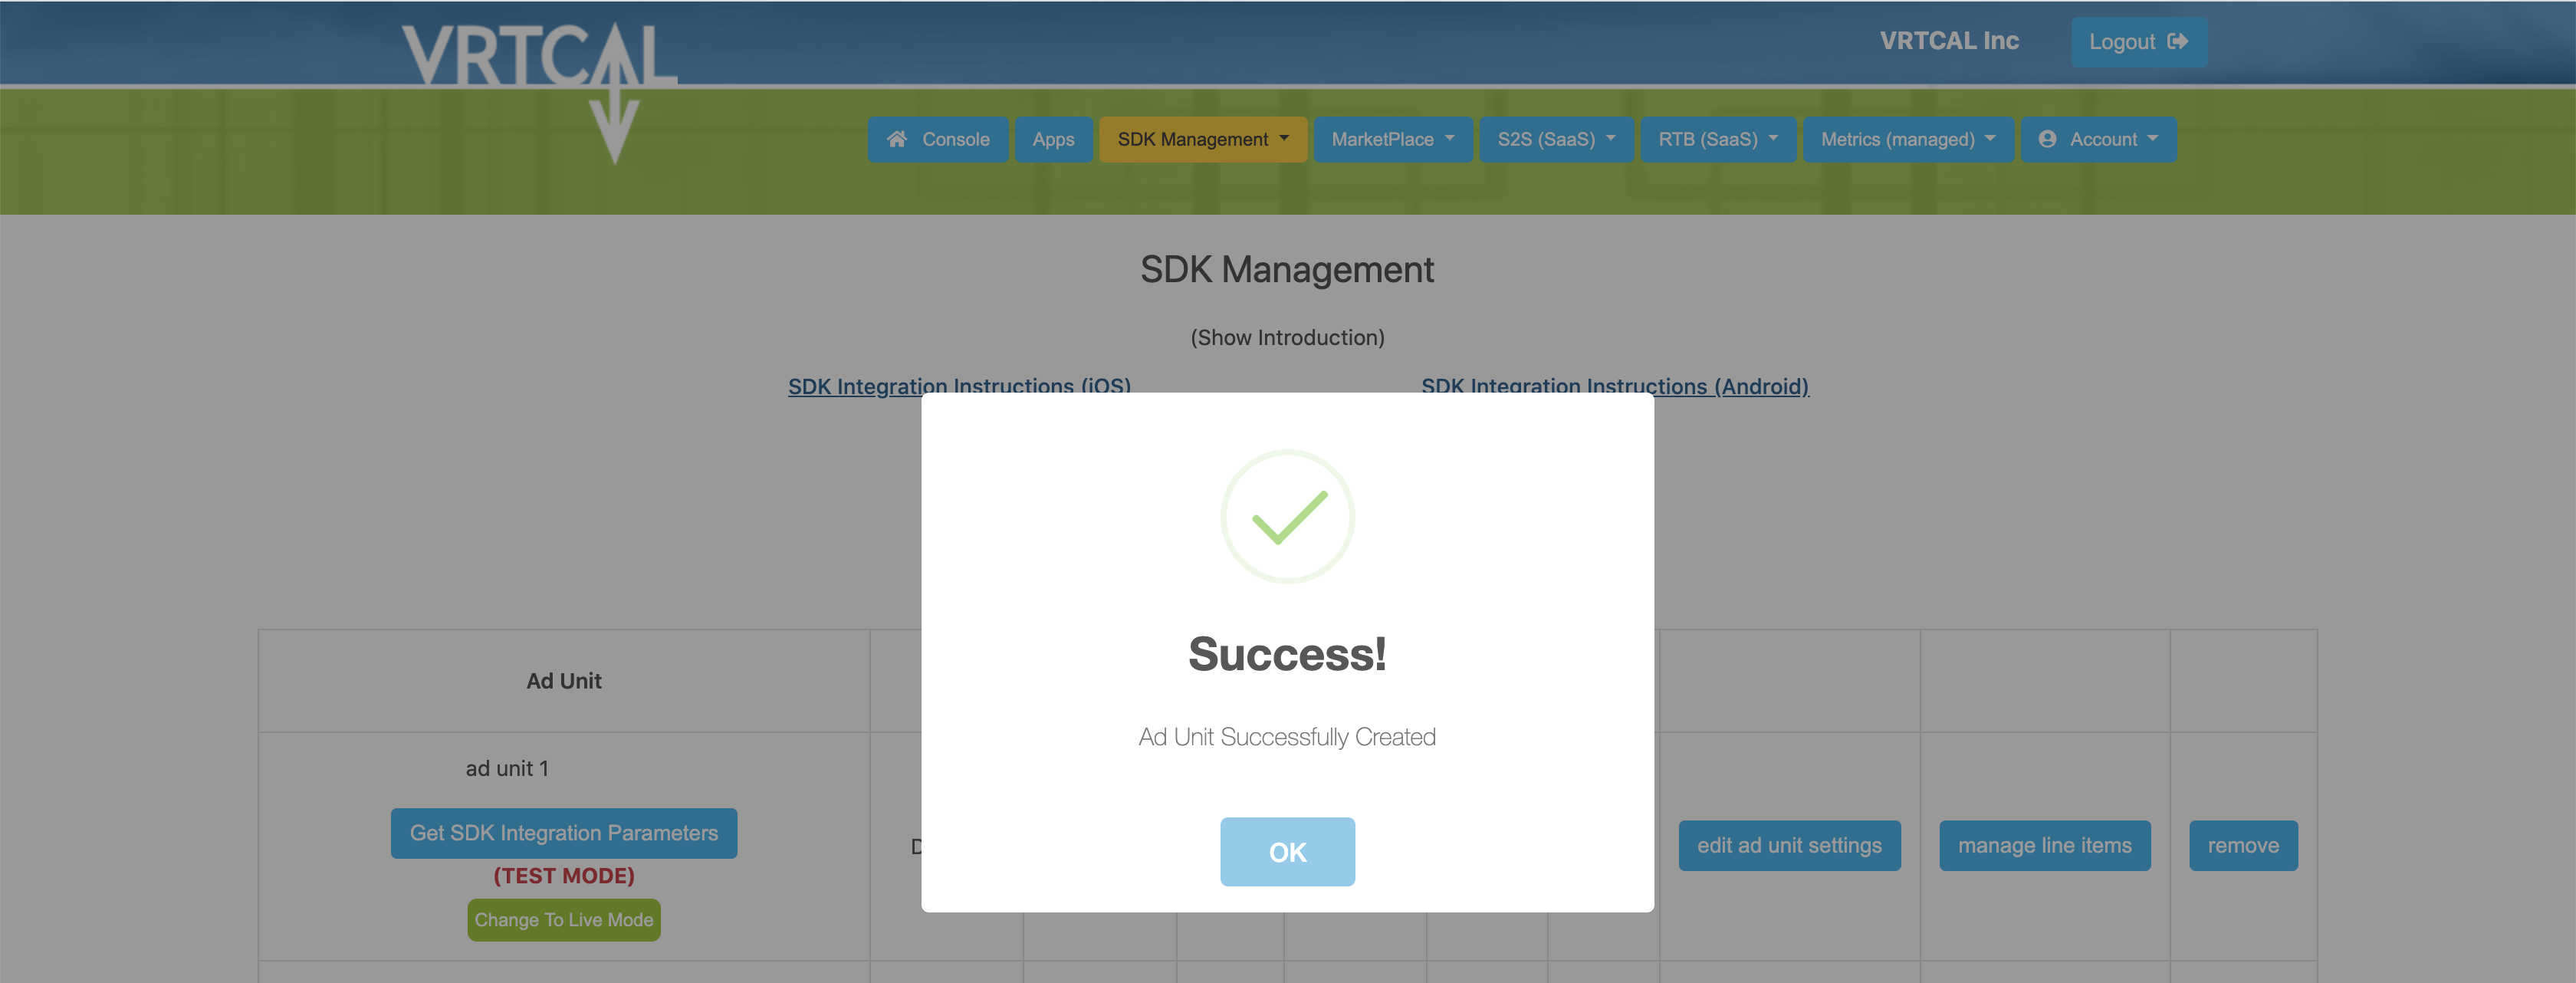
- Fill out all the required fields for your Ad Unit and click "Create Ad Unit". You should get a success popup. Congratulations, you created an Ad Unit!
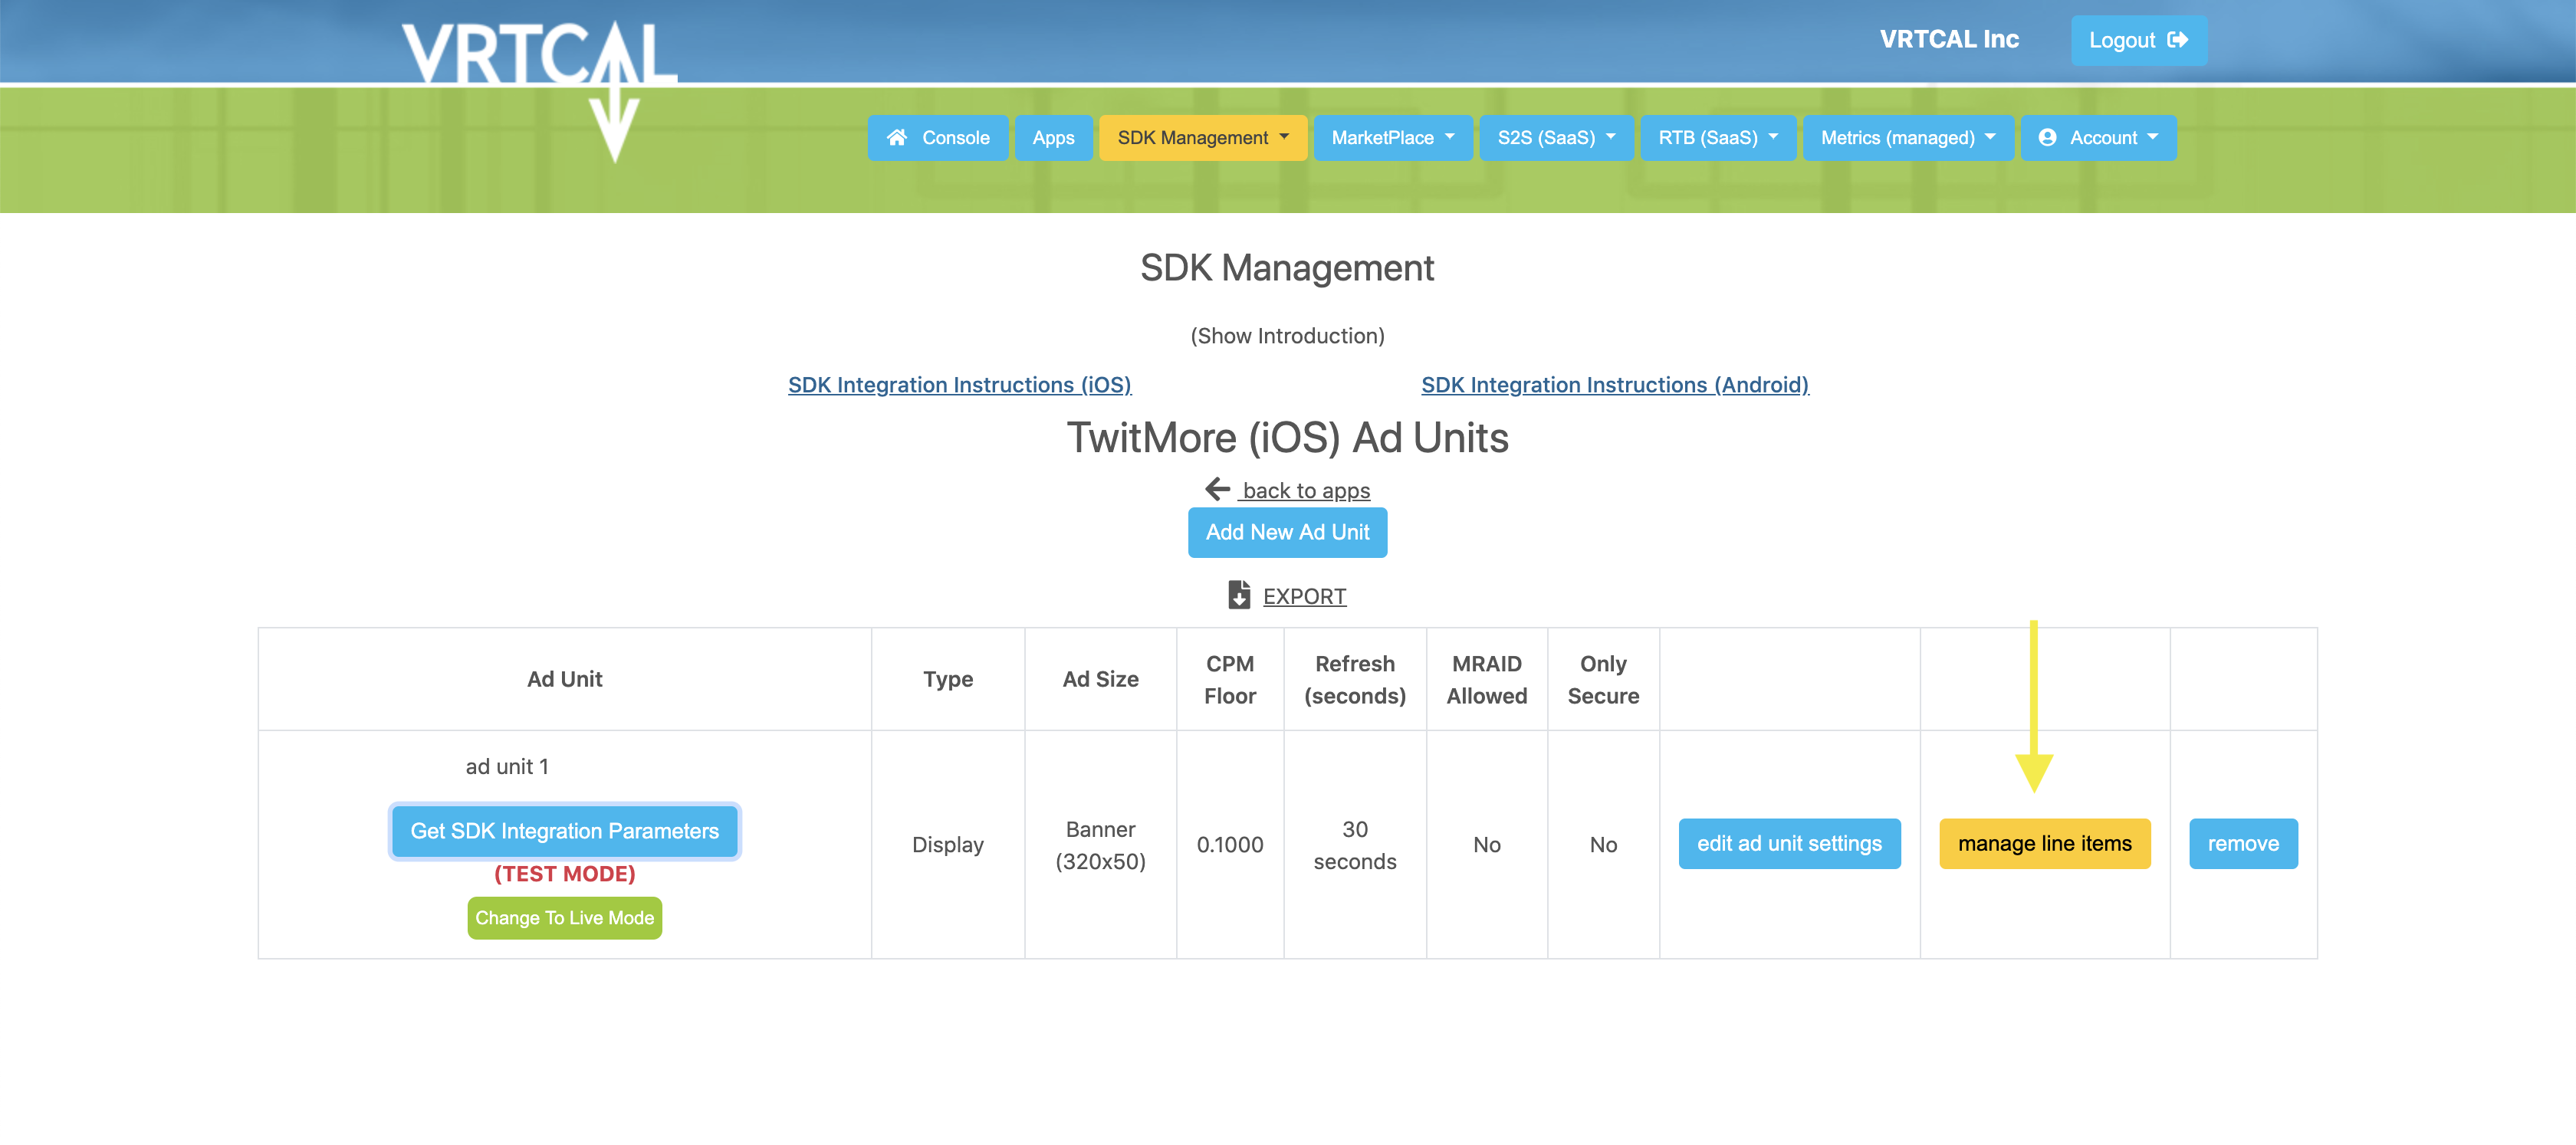
- Your newly created Ad Unit is now listed in your app’s SDK Ad Unit section:

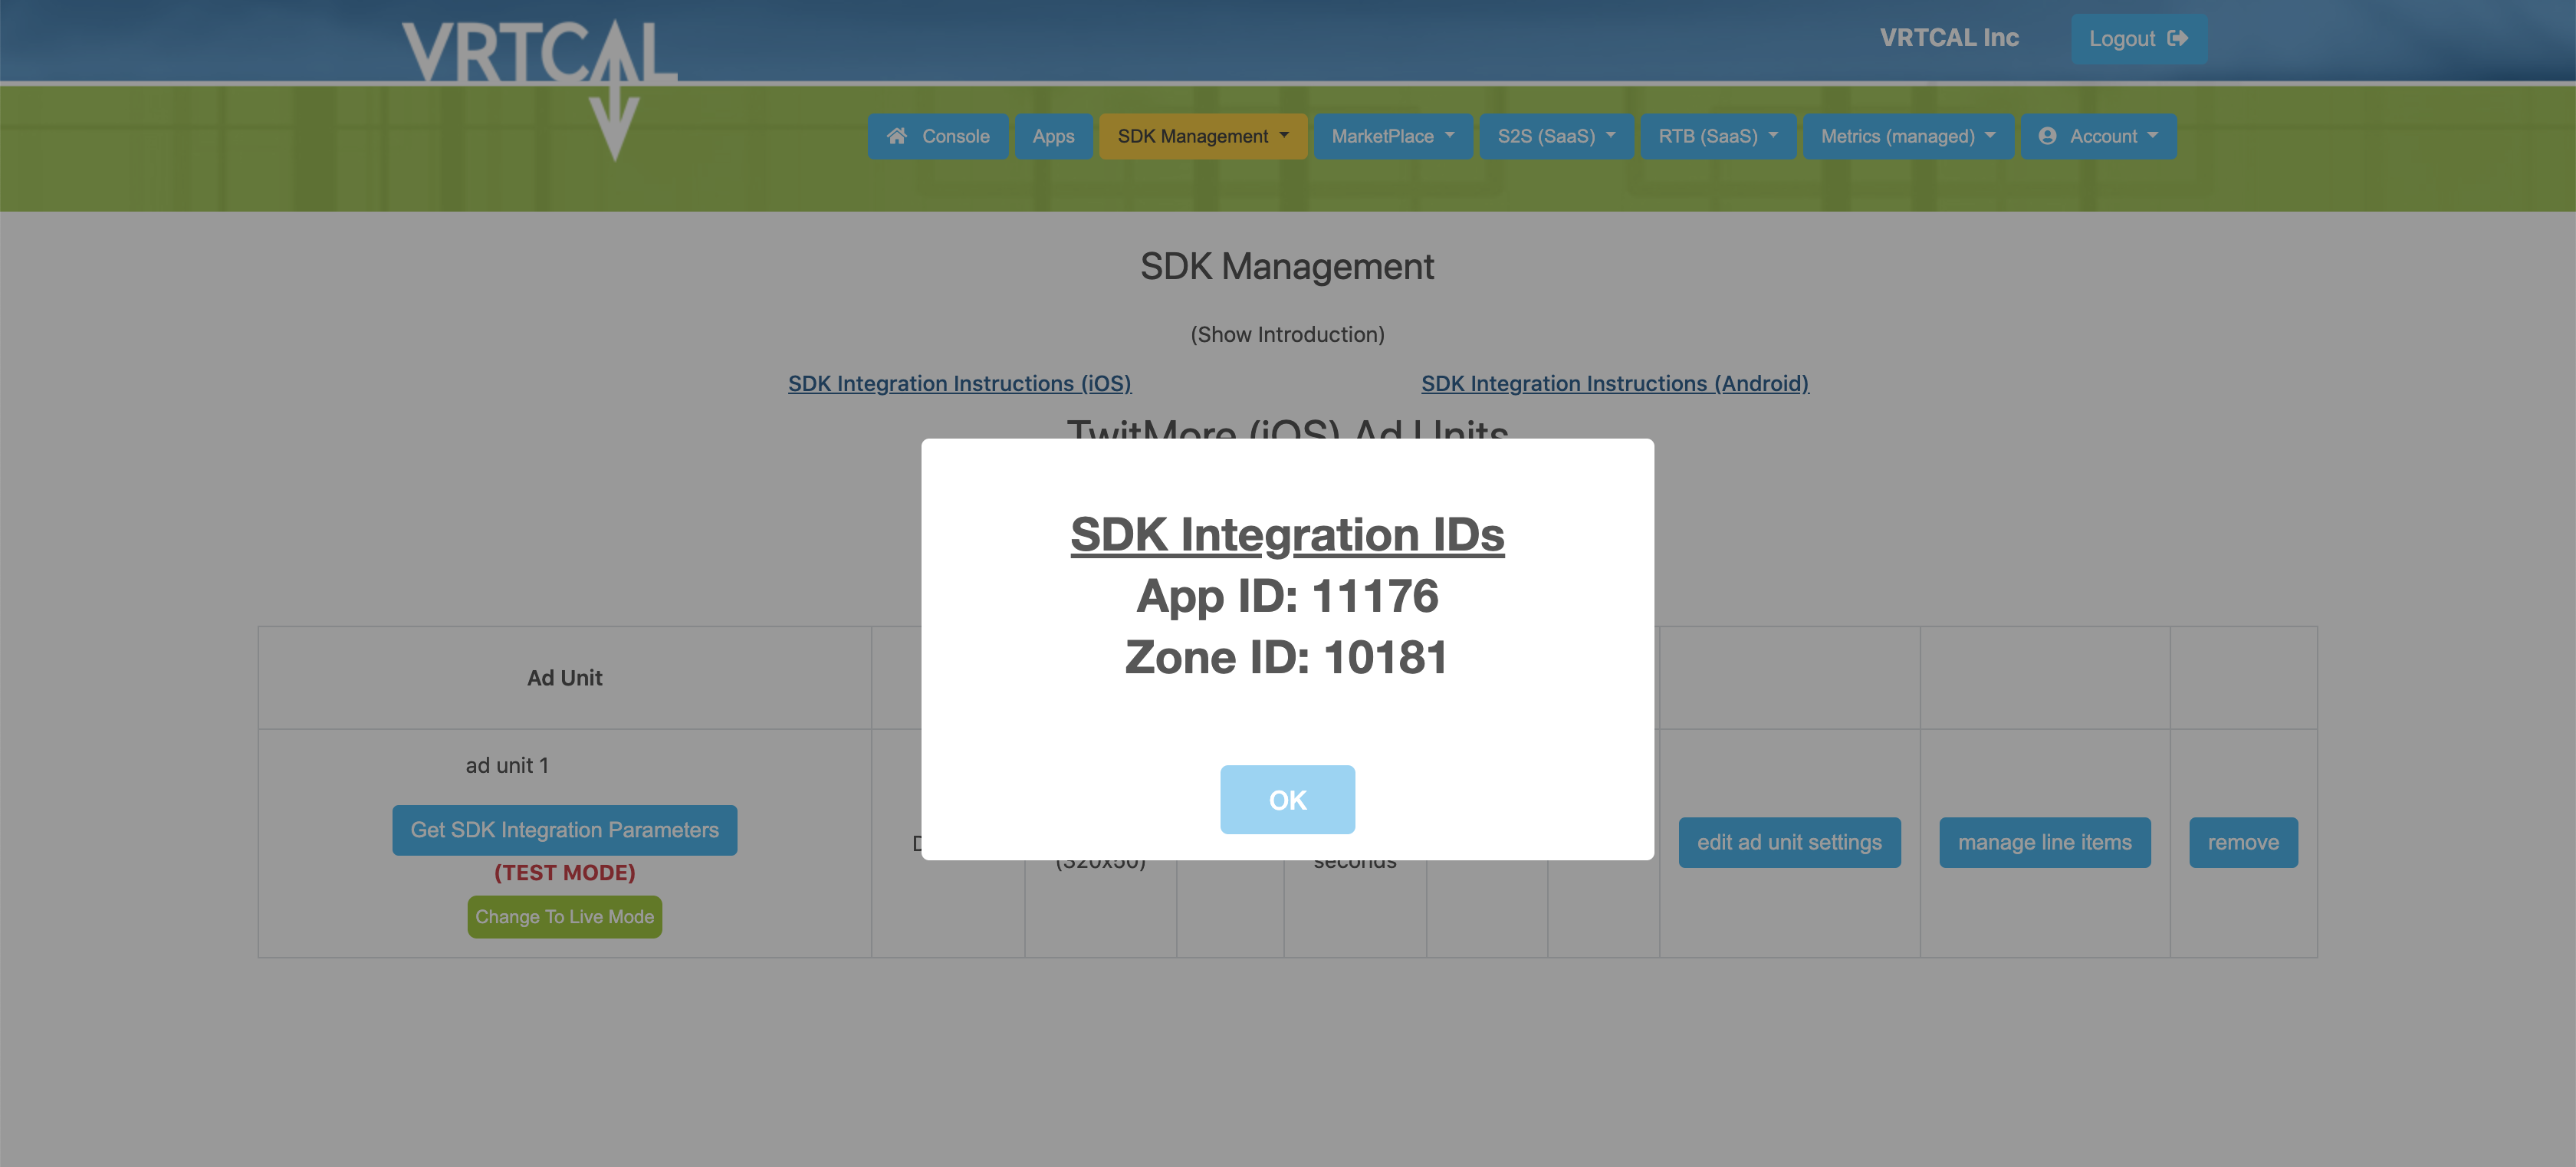
- To integrate your Ad Unit with the SDK, get the necessary parameters by clicking the "Get SDK Integration Parameters" button
Adding Line Items
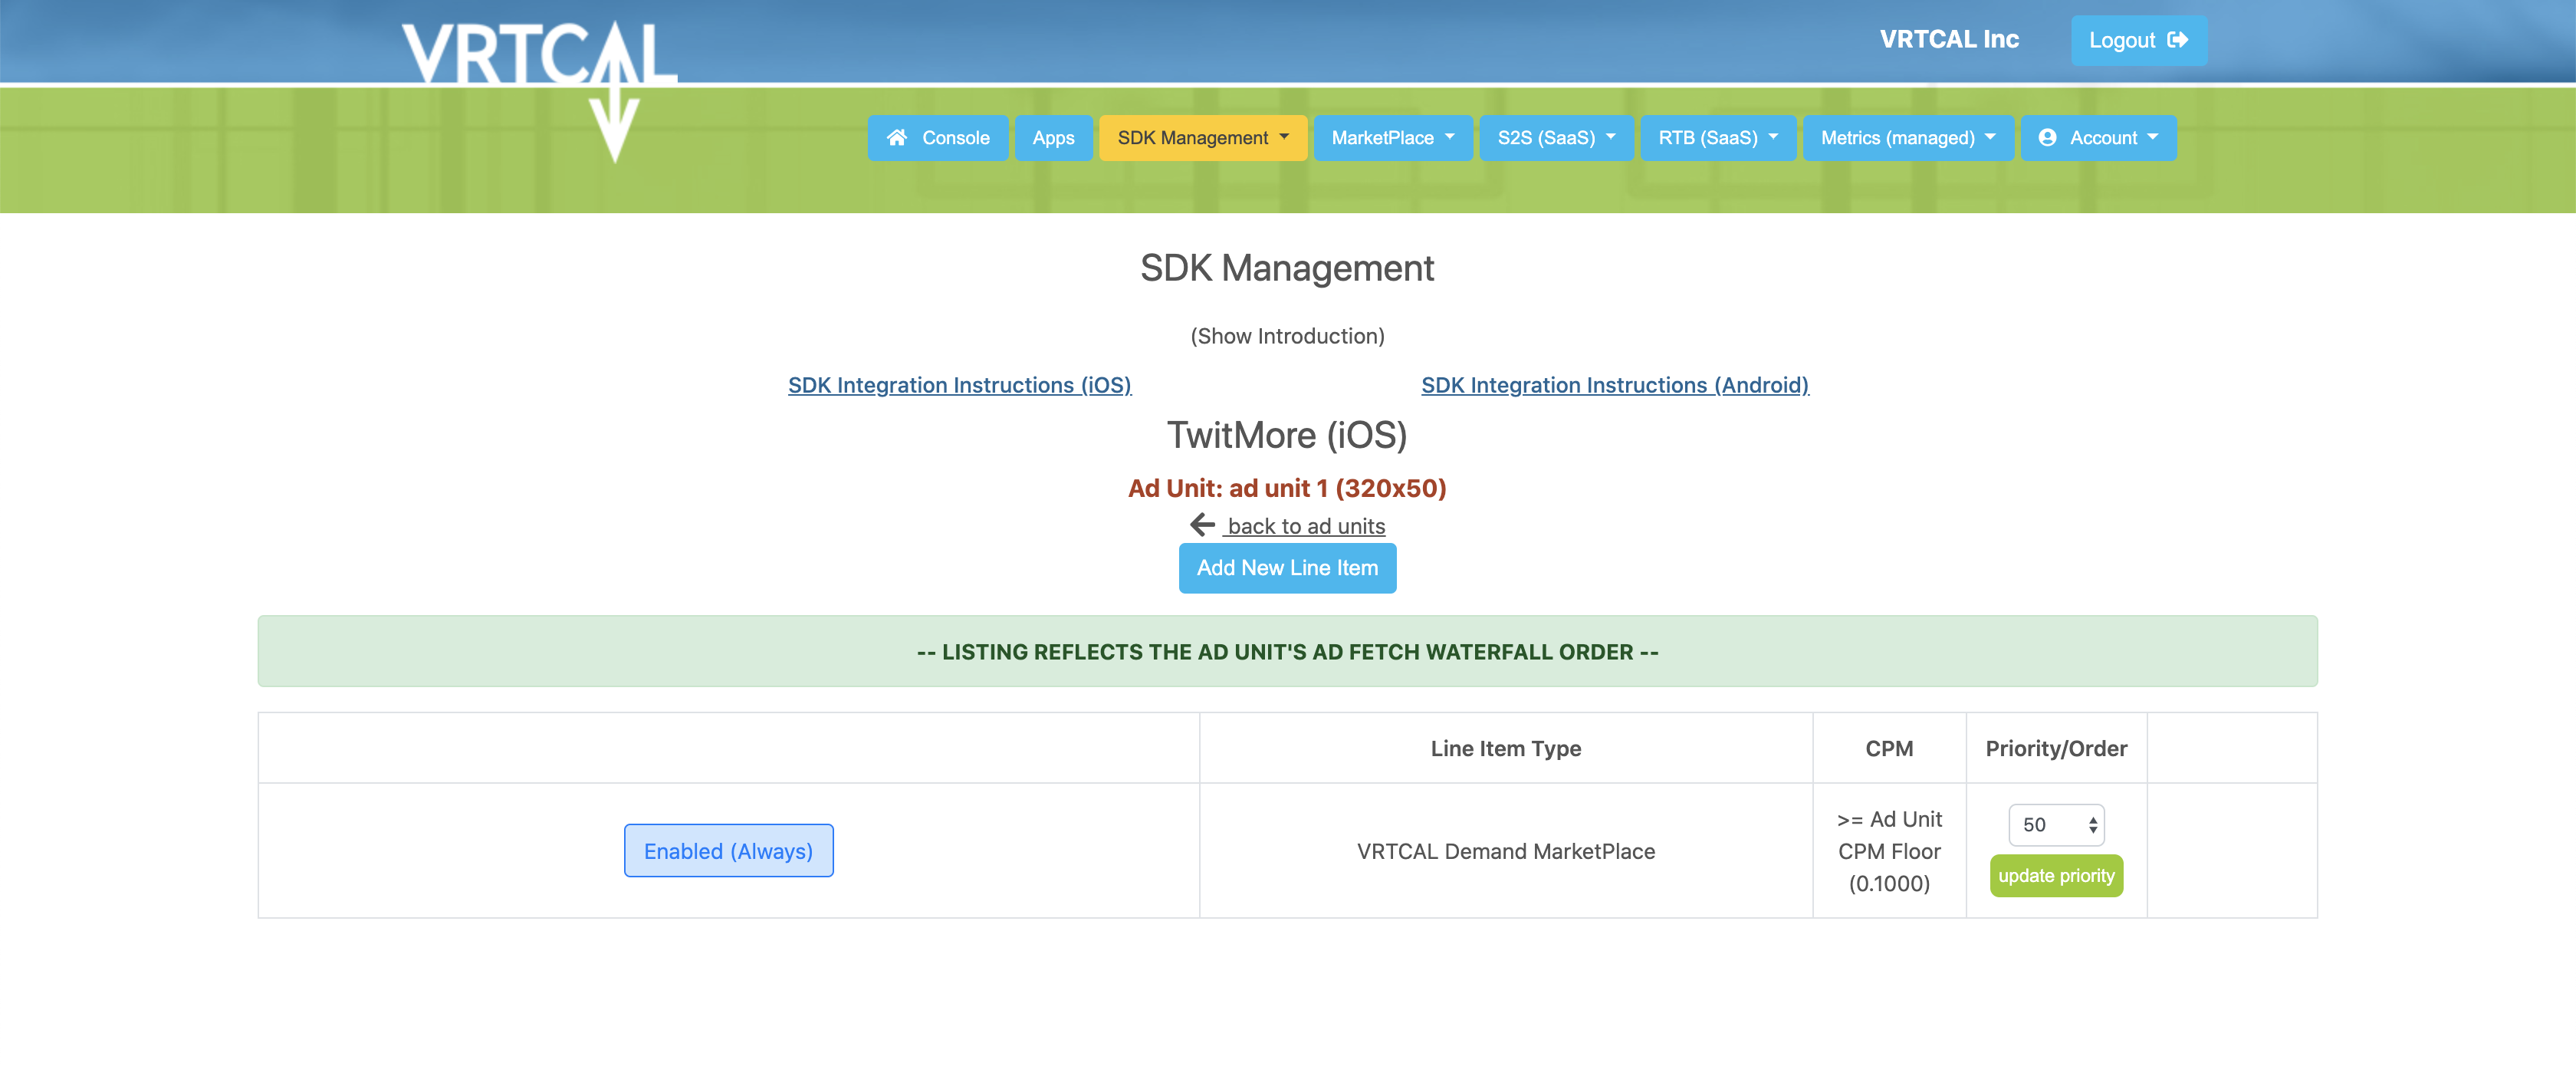
- In the SDK Management SDK Ad Unit Section click on "manage line items"
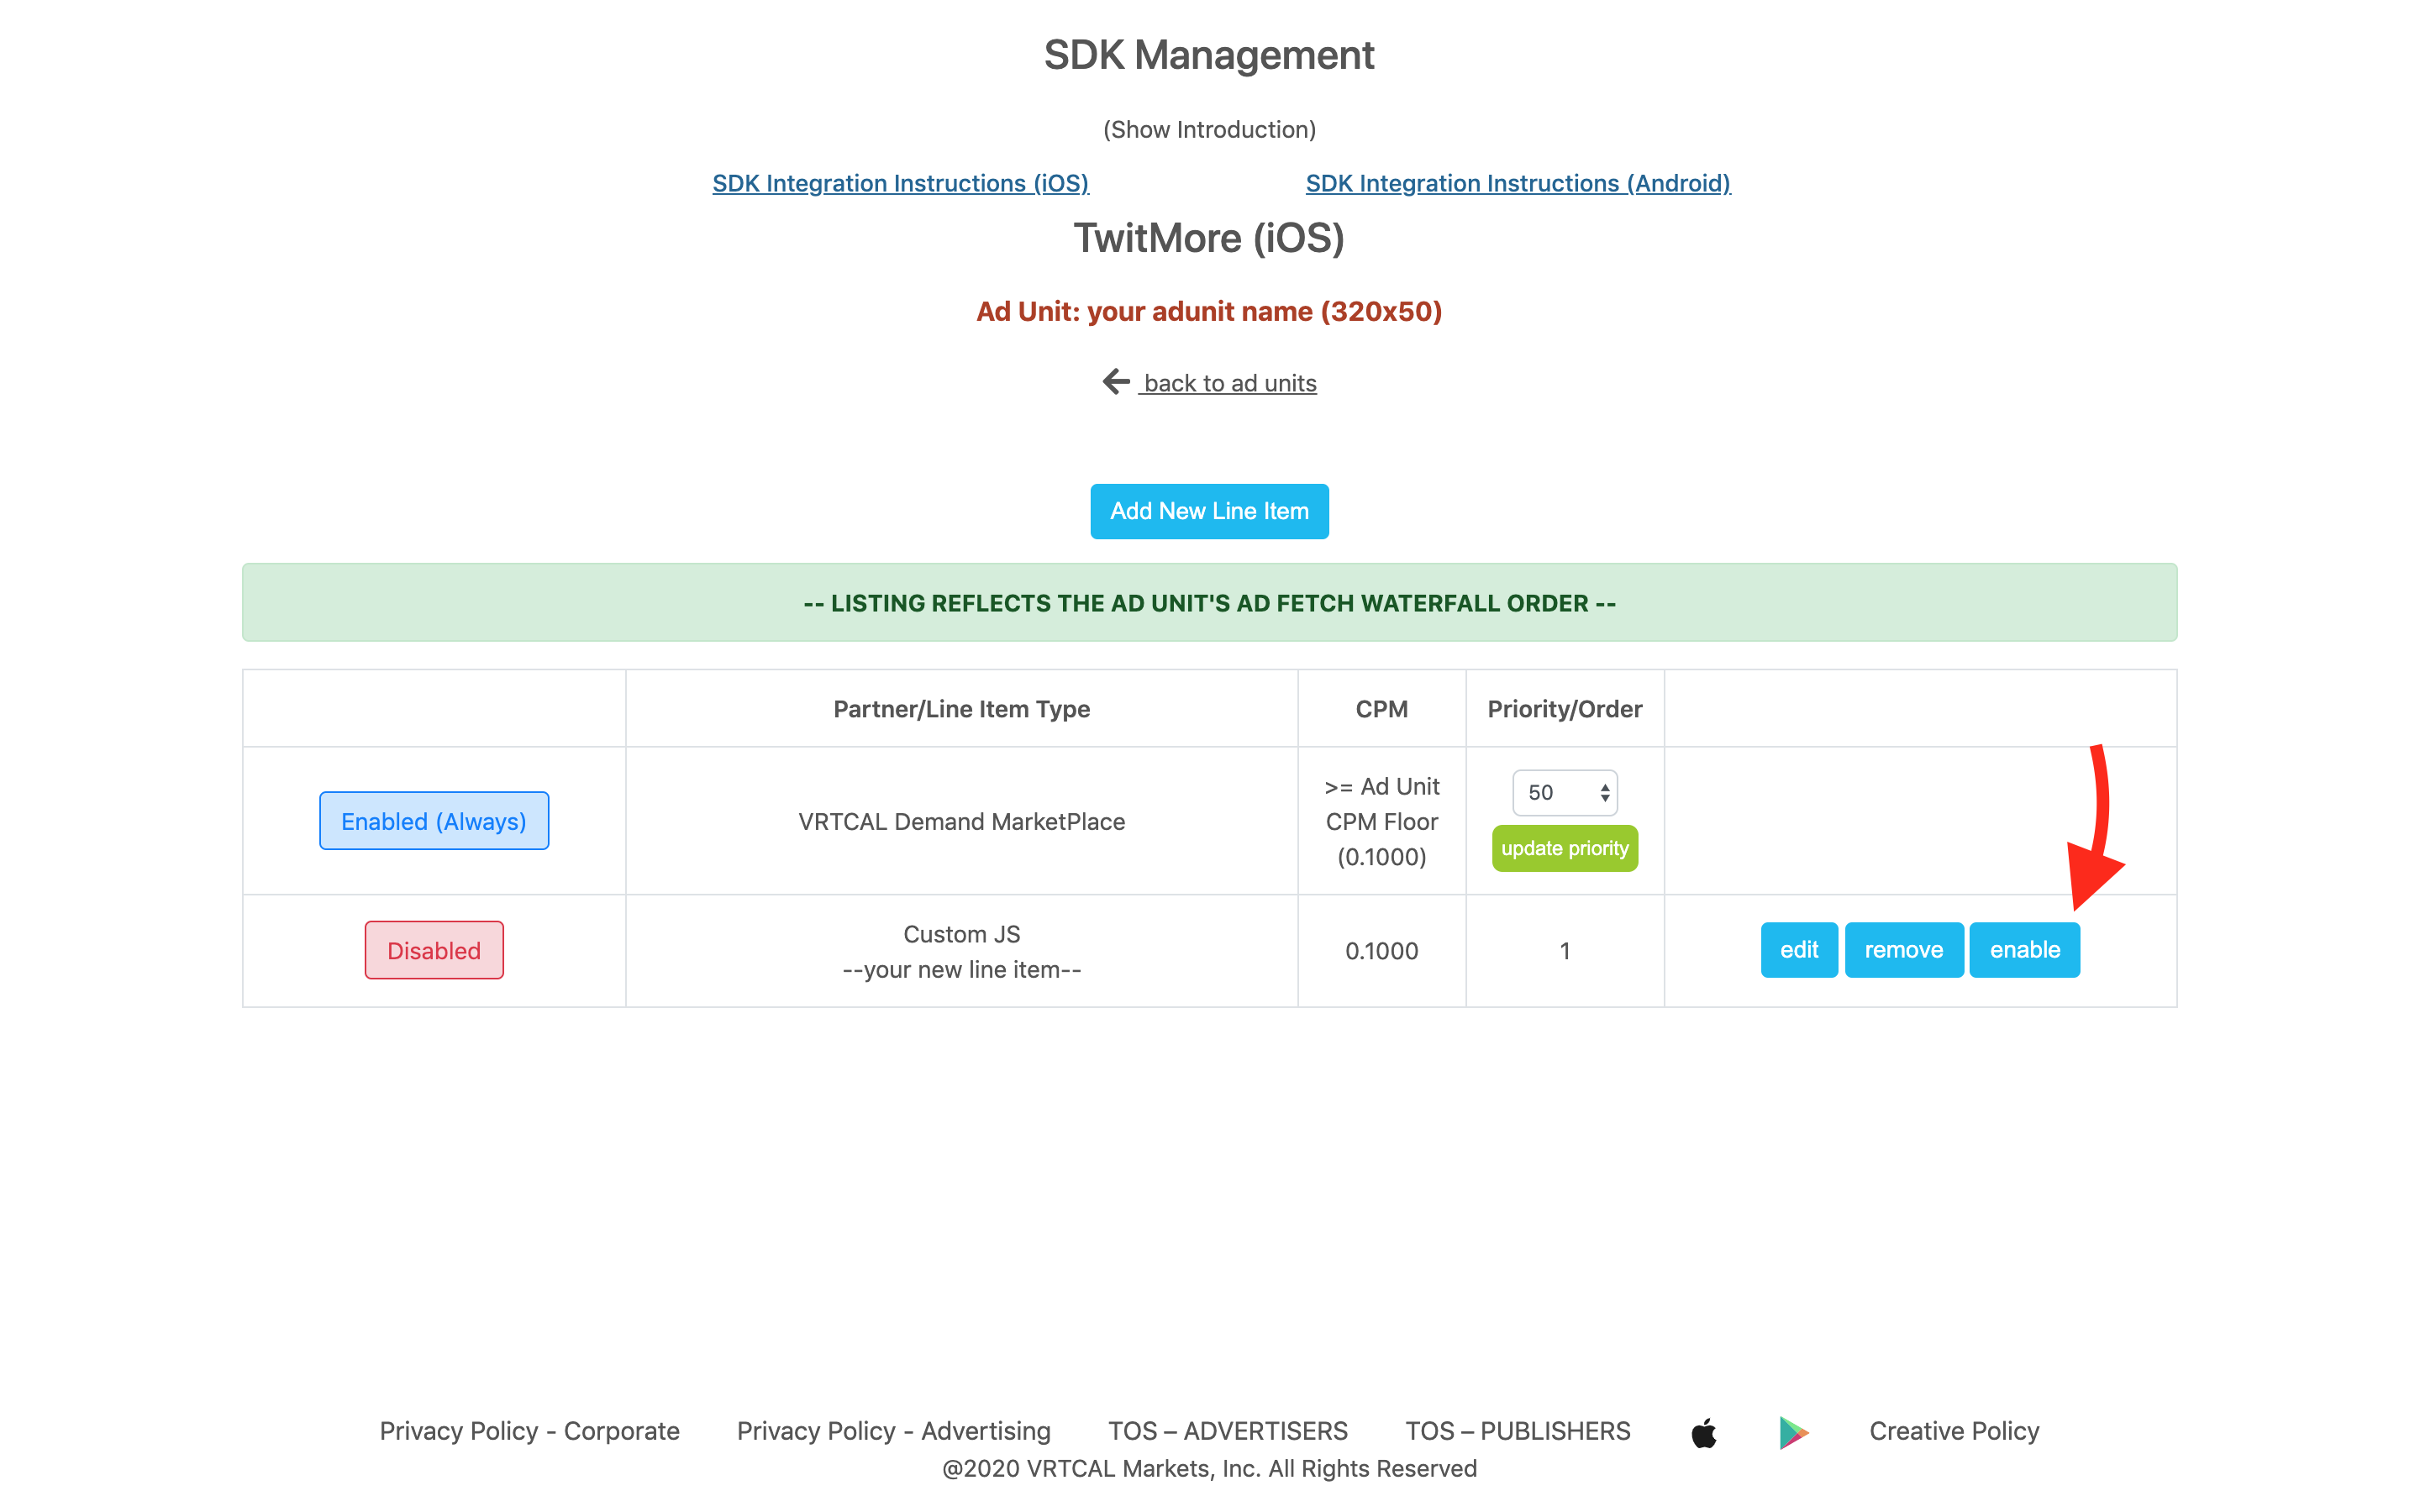
You will see an already existing line item:
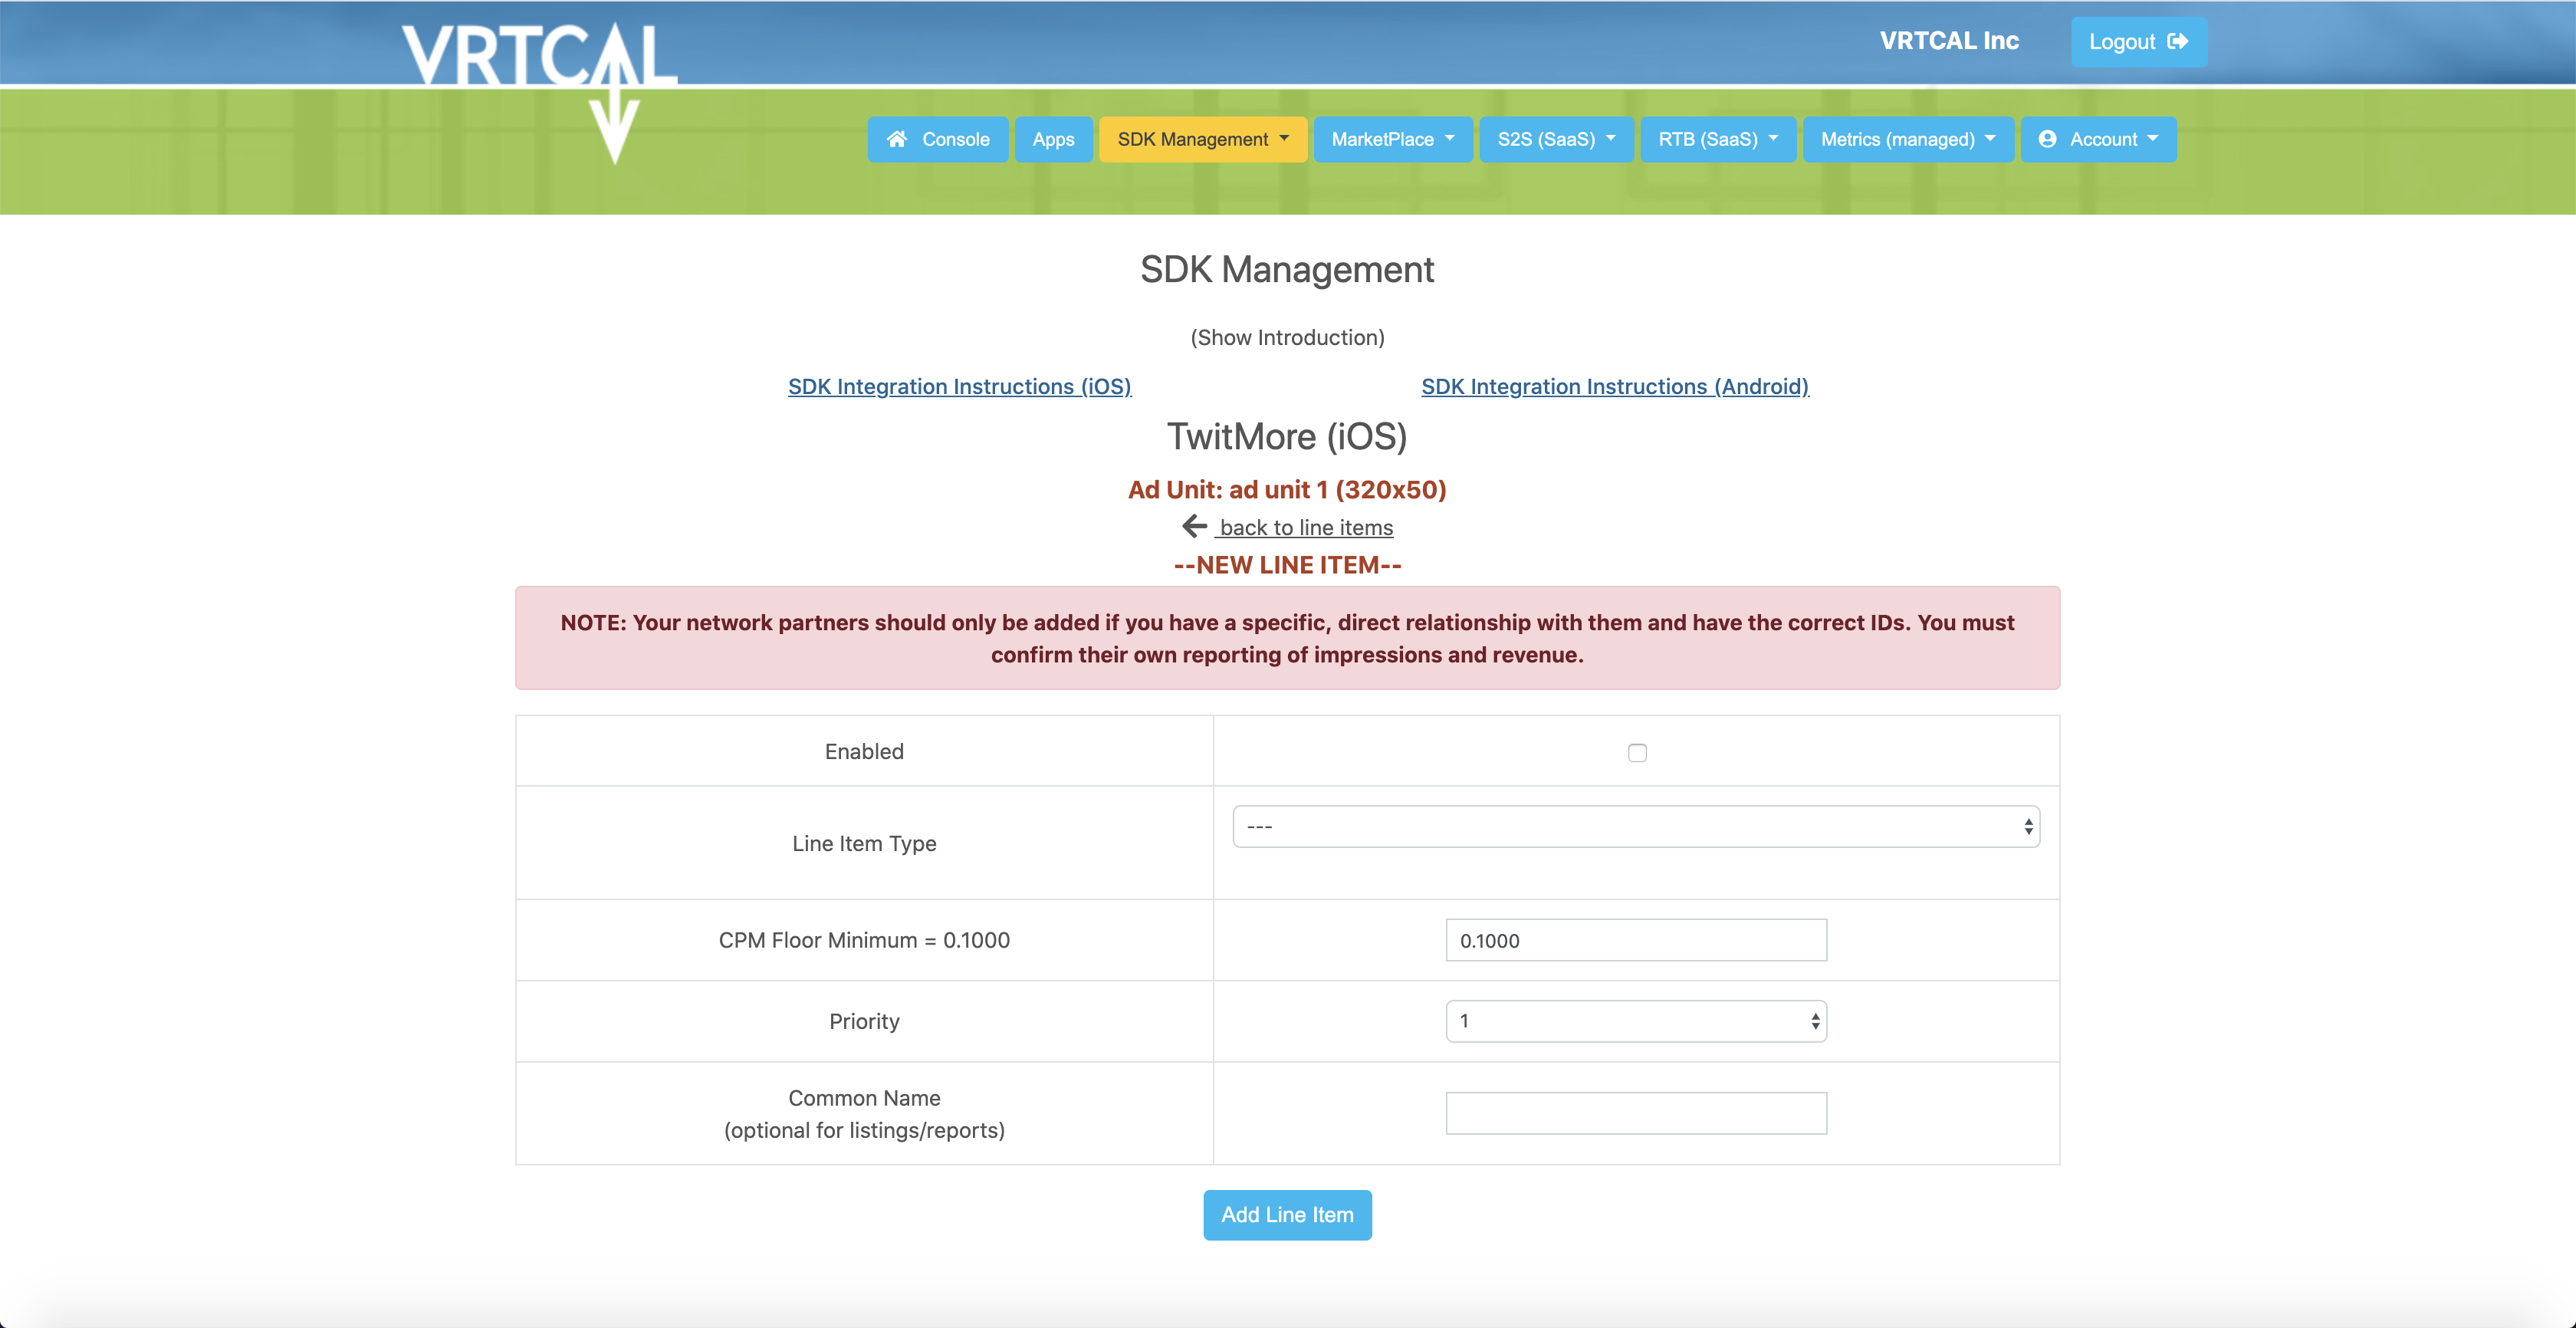
To add another Line Item Click on "Add New Line Item" then fill out the required fields for your Line Item.
Upon successful submission you should get a Success Popup:
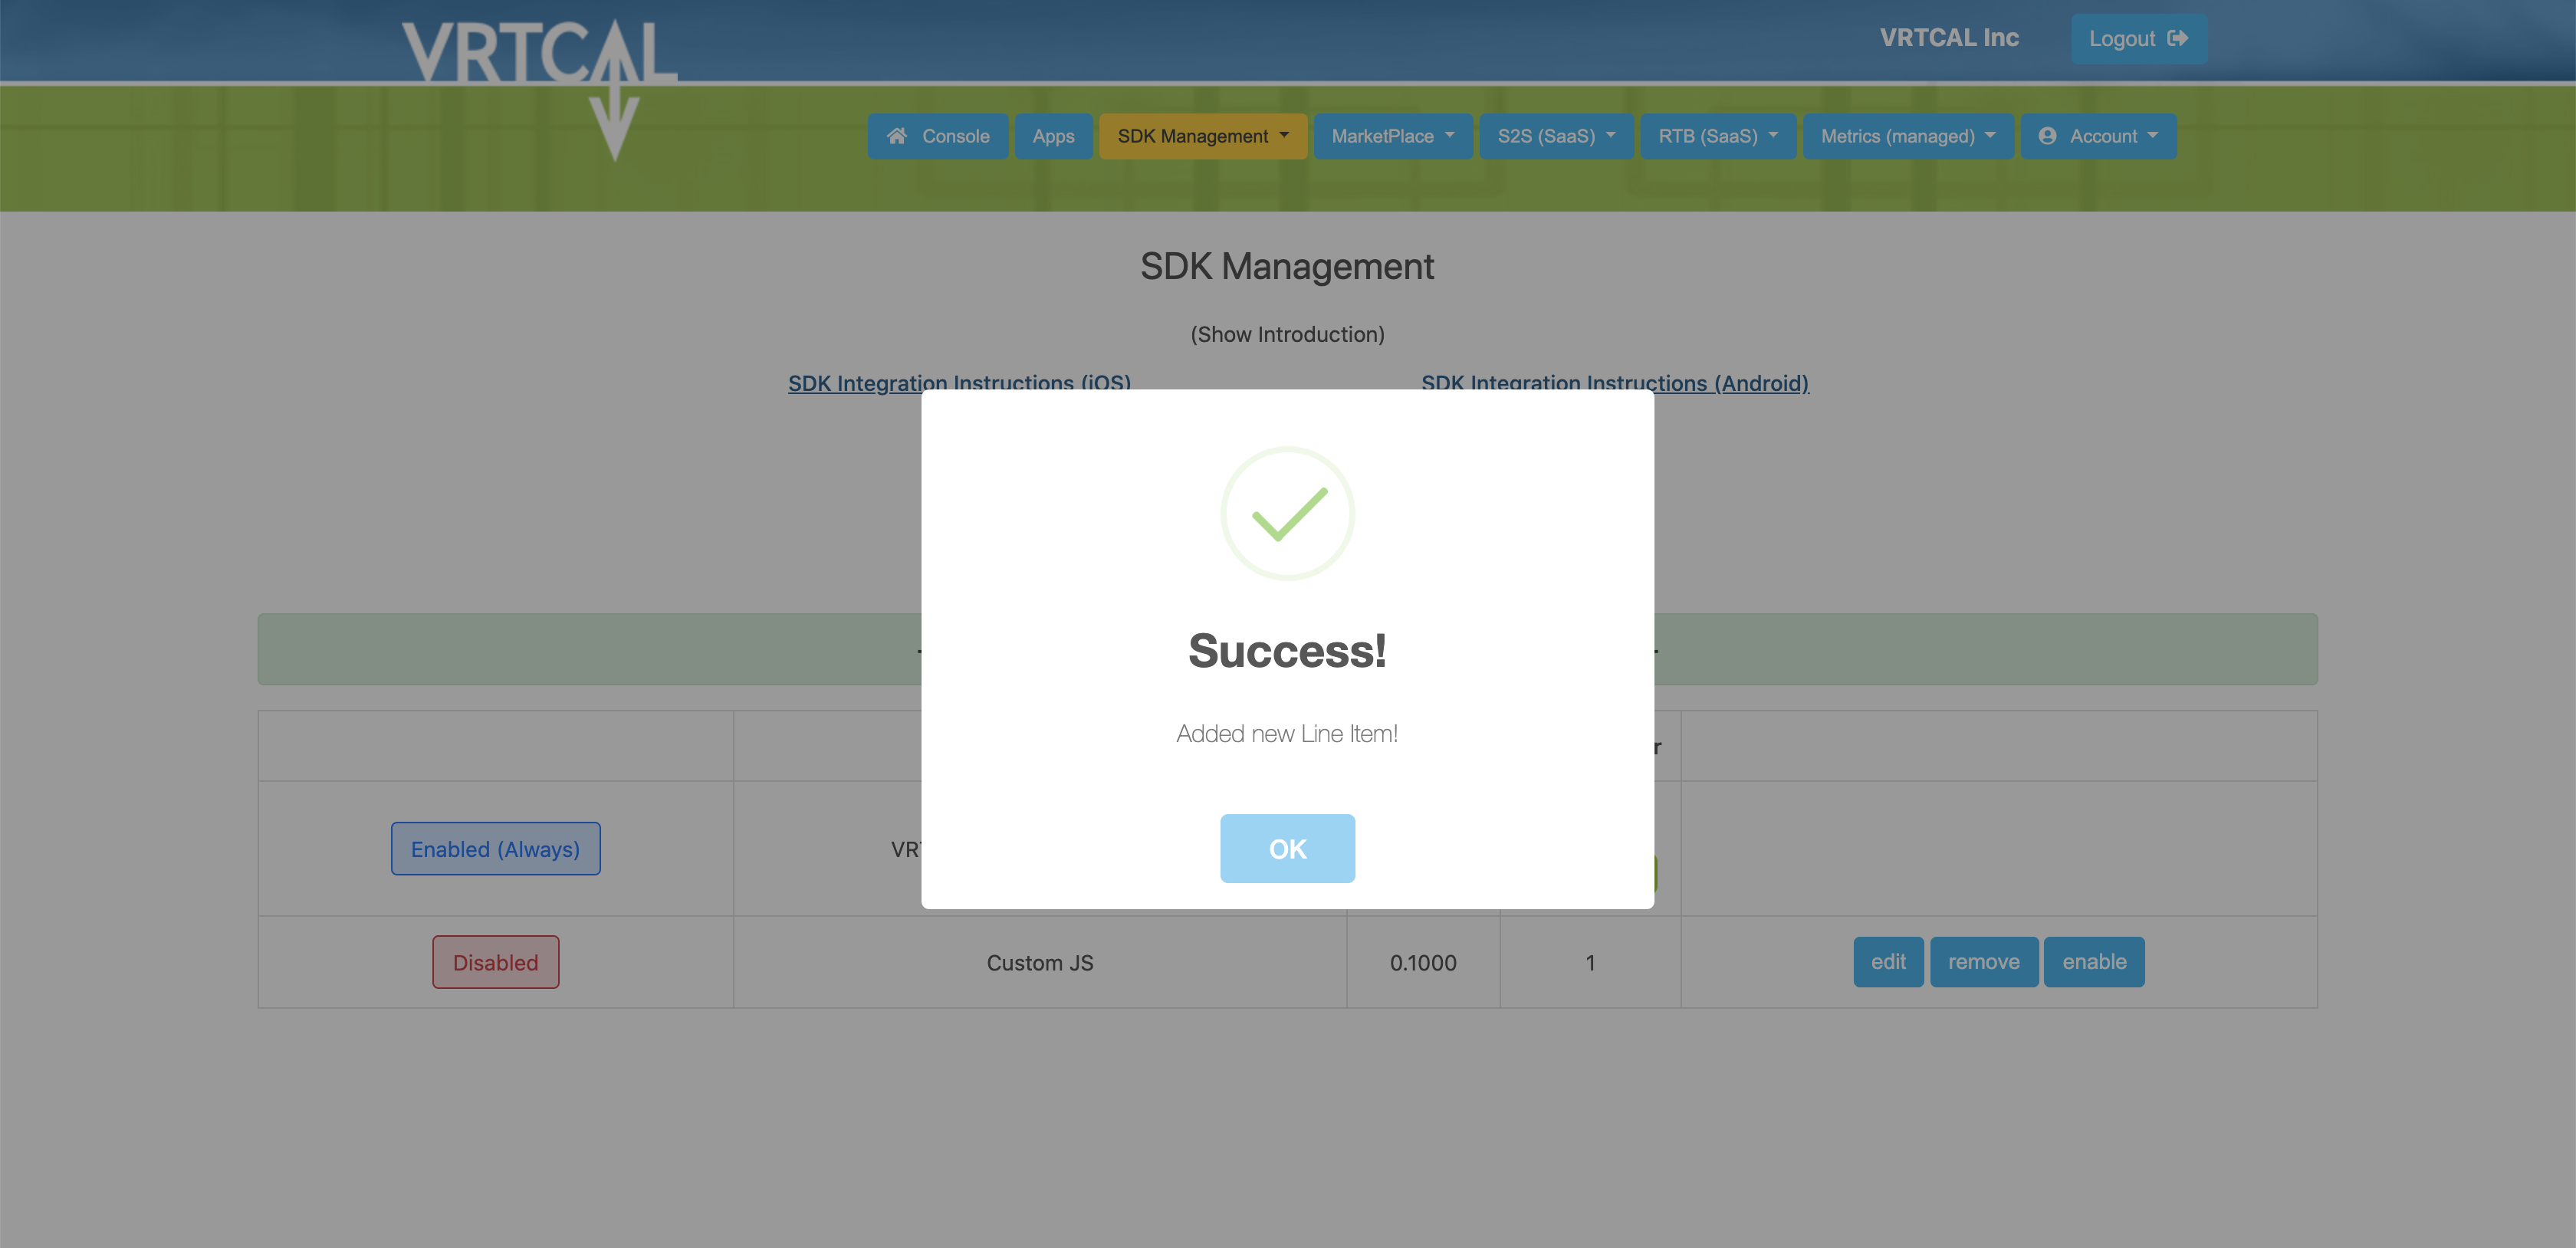
All newly created Line Items are disabled by default, you can enable them by clicking on enable: